How To Use Meistertask – Meistertask Tutorial 2020
Today I’m going to walk you through the basics and the overall layout of Meistertask. I will include a couple of examples of how I am using it in order to be more efficient in my business, and to make sure that I do not get distracted when I am working on things that move the business forward.
In the default layout (the dashboard is fully customizable), you will find the tasks, checklists and all projects listed from A to Z to the right of your screen. On the left of your screen, you will see all the projects, which you can reorder by simply dragging and dropping, keeping the ones you use the most up at the top.
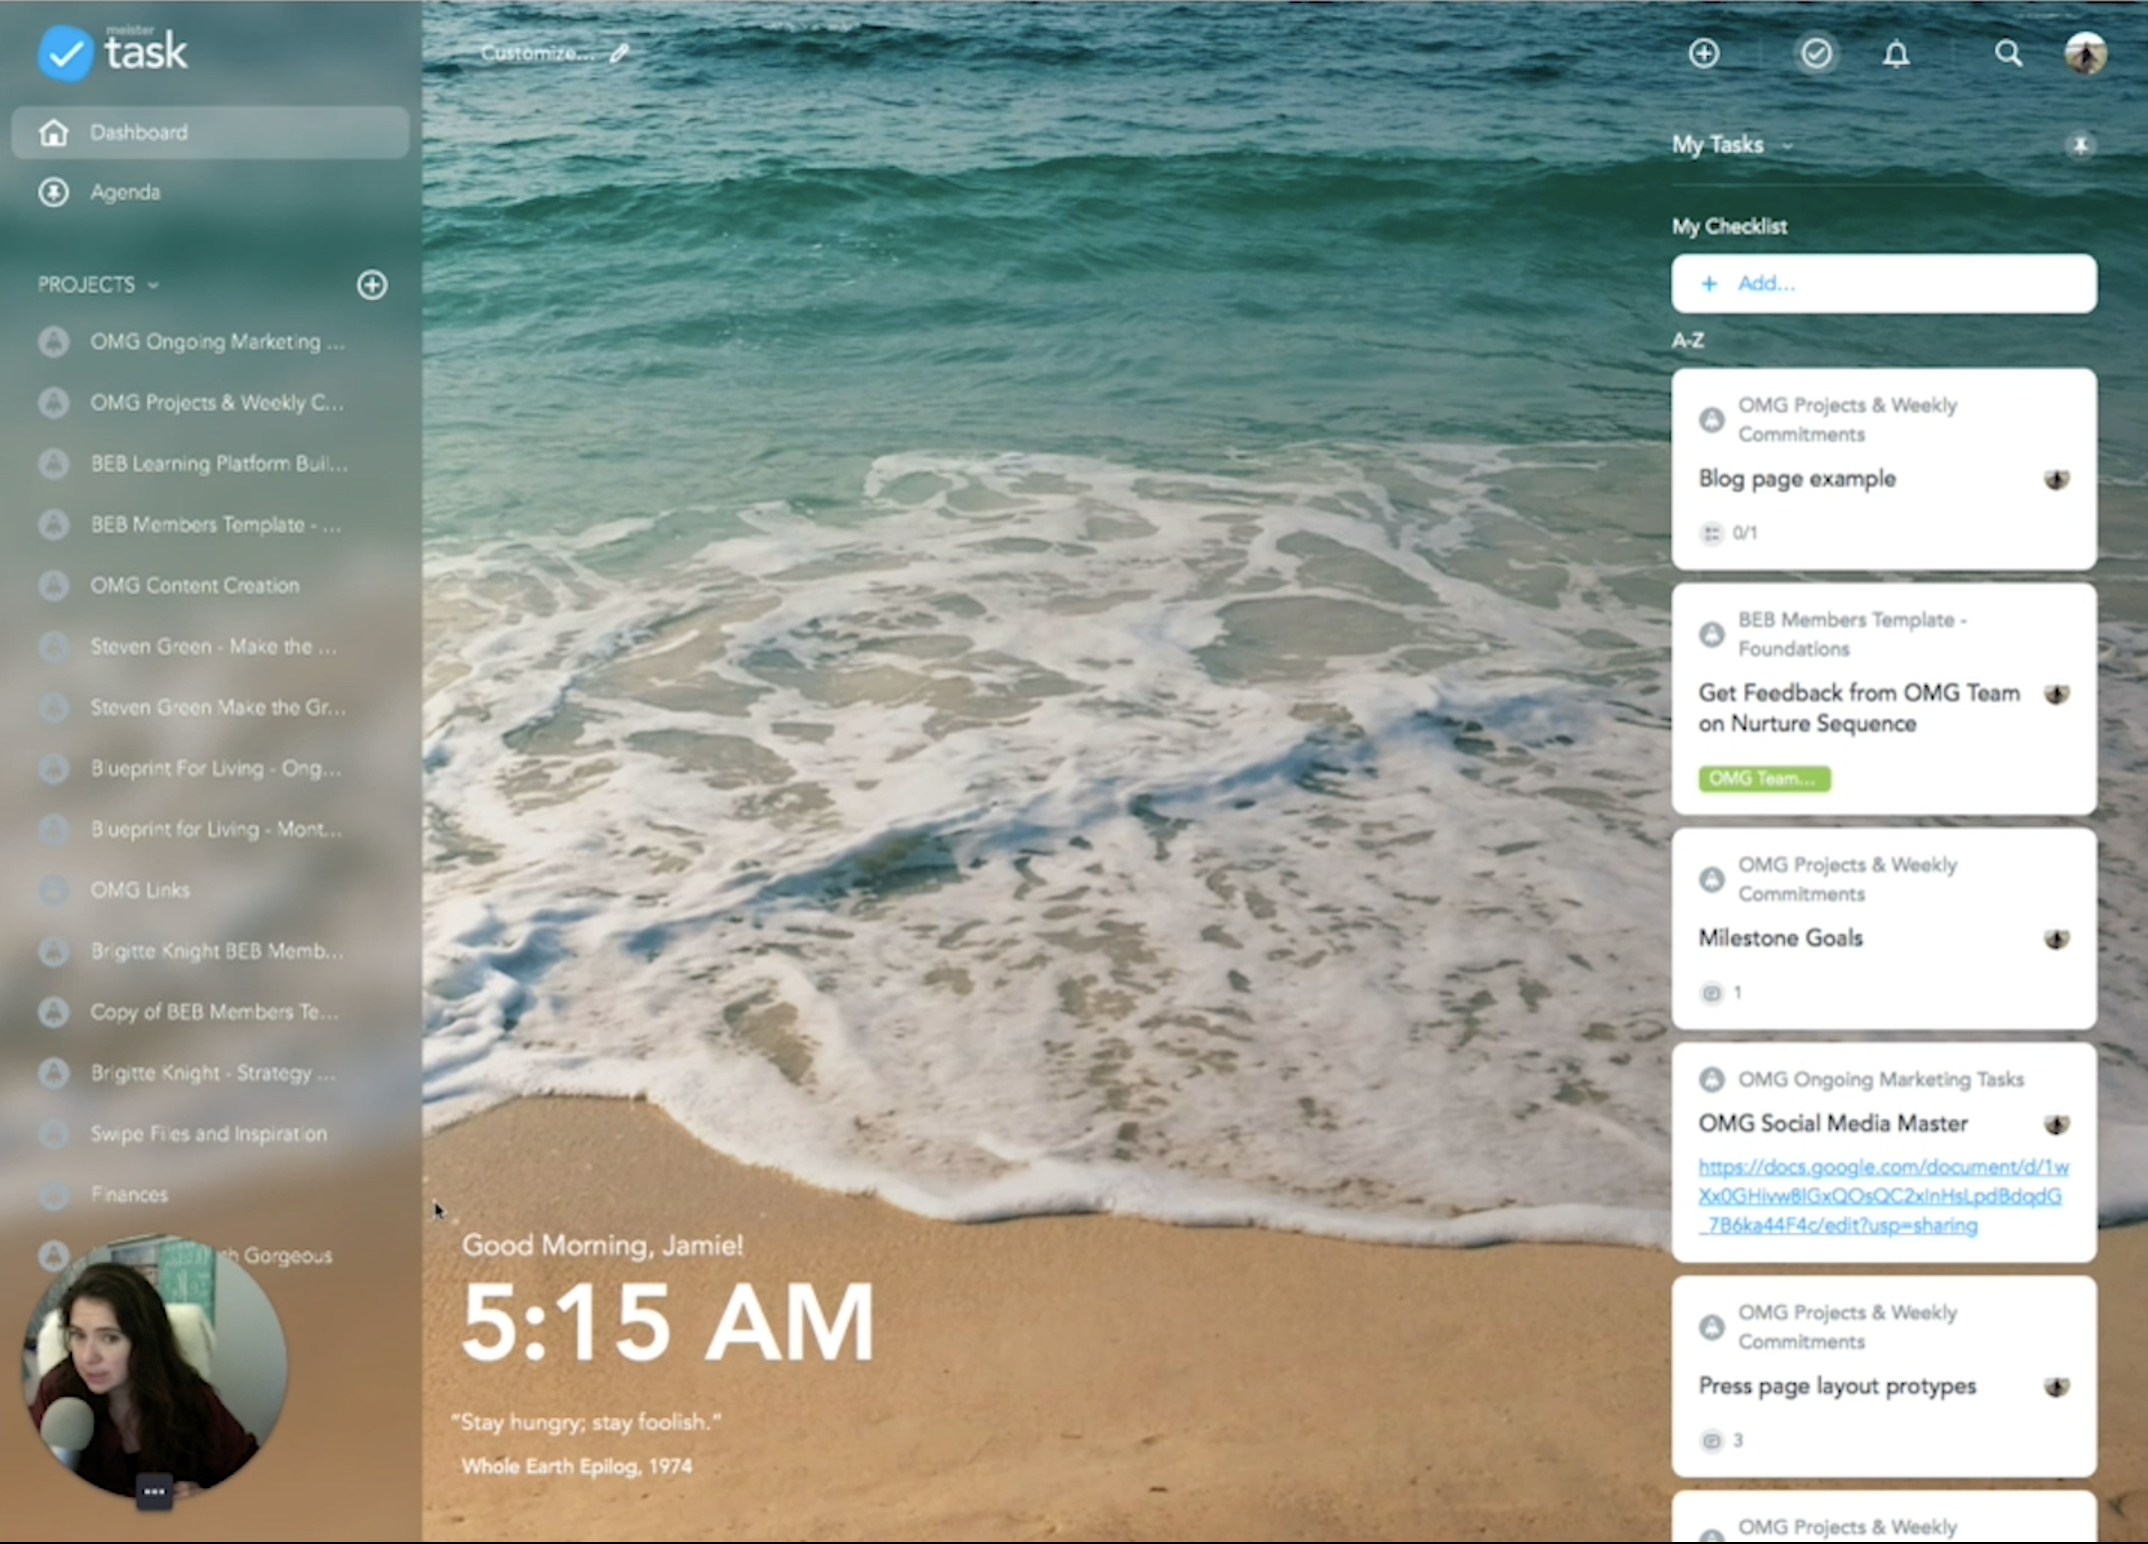
Let’s look at the basics of a project:
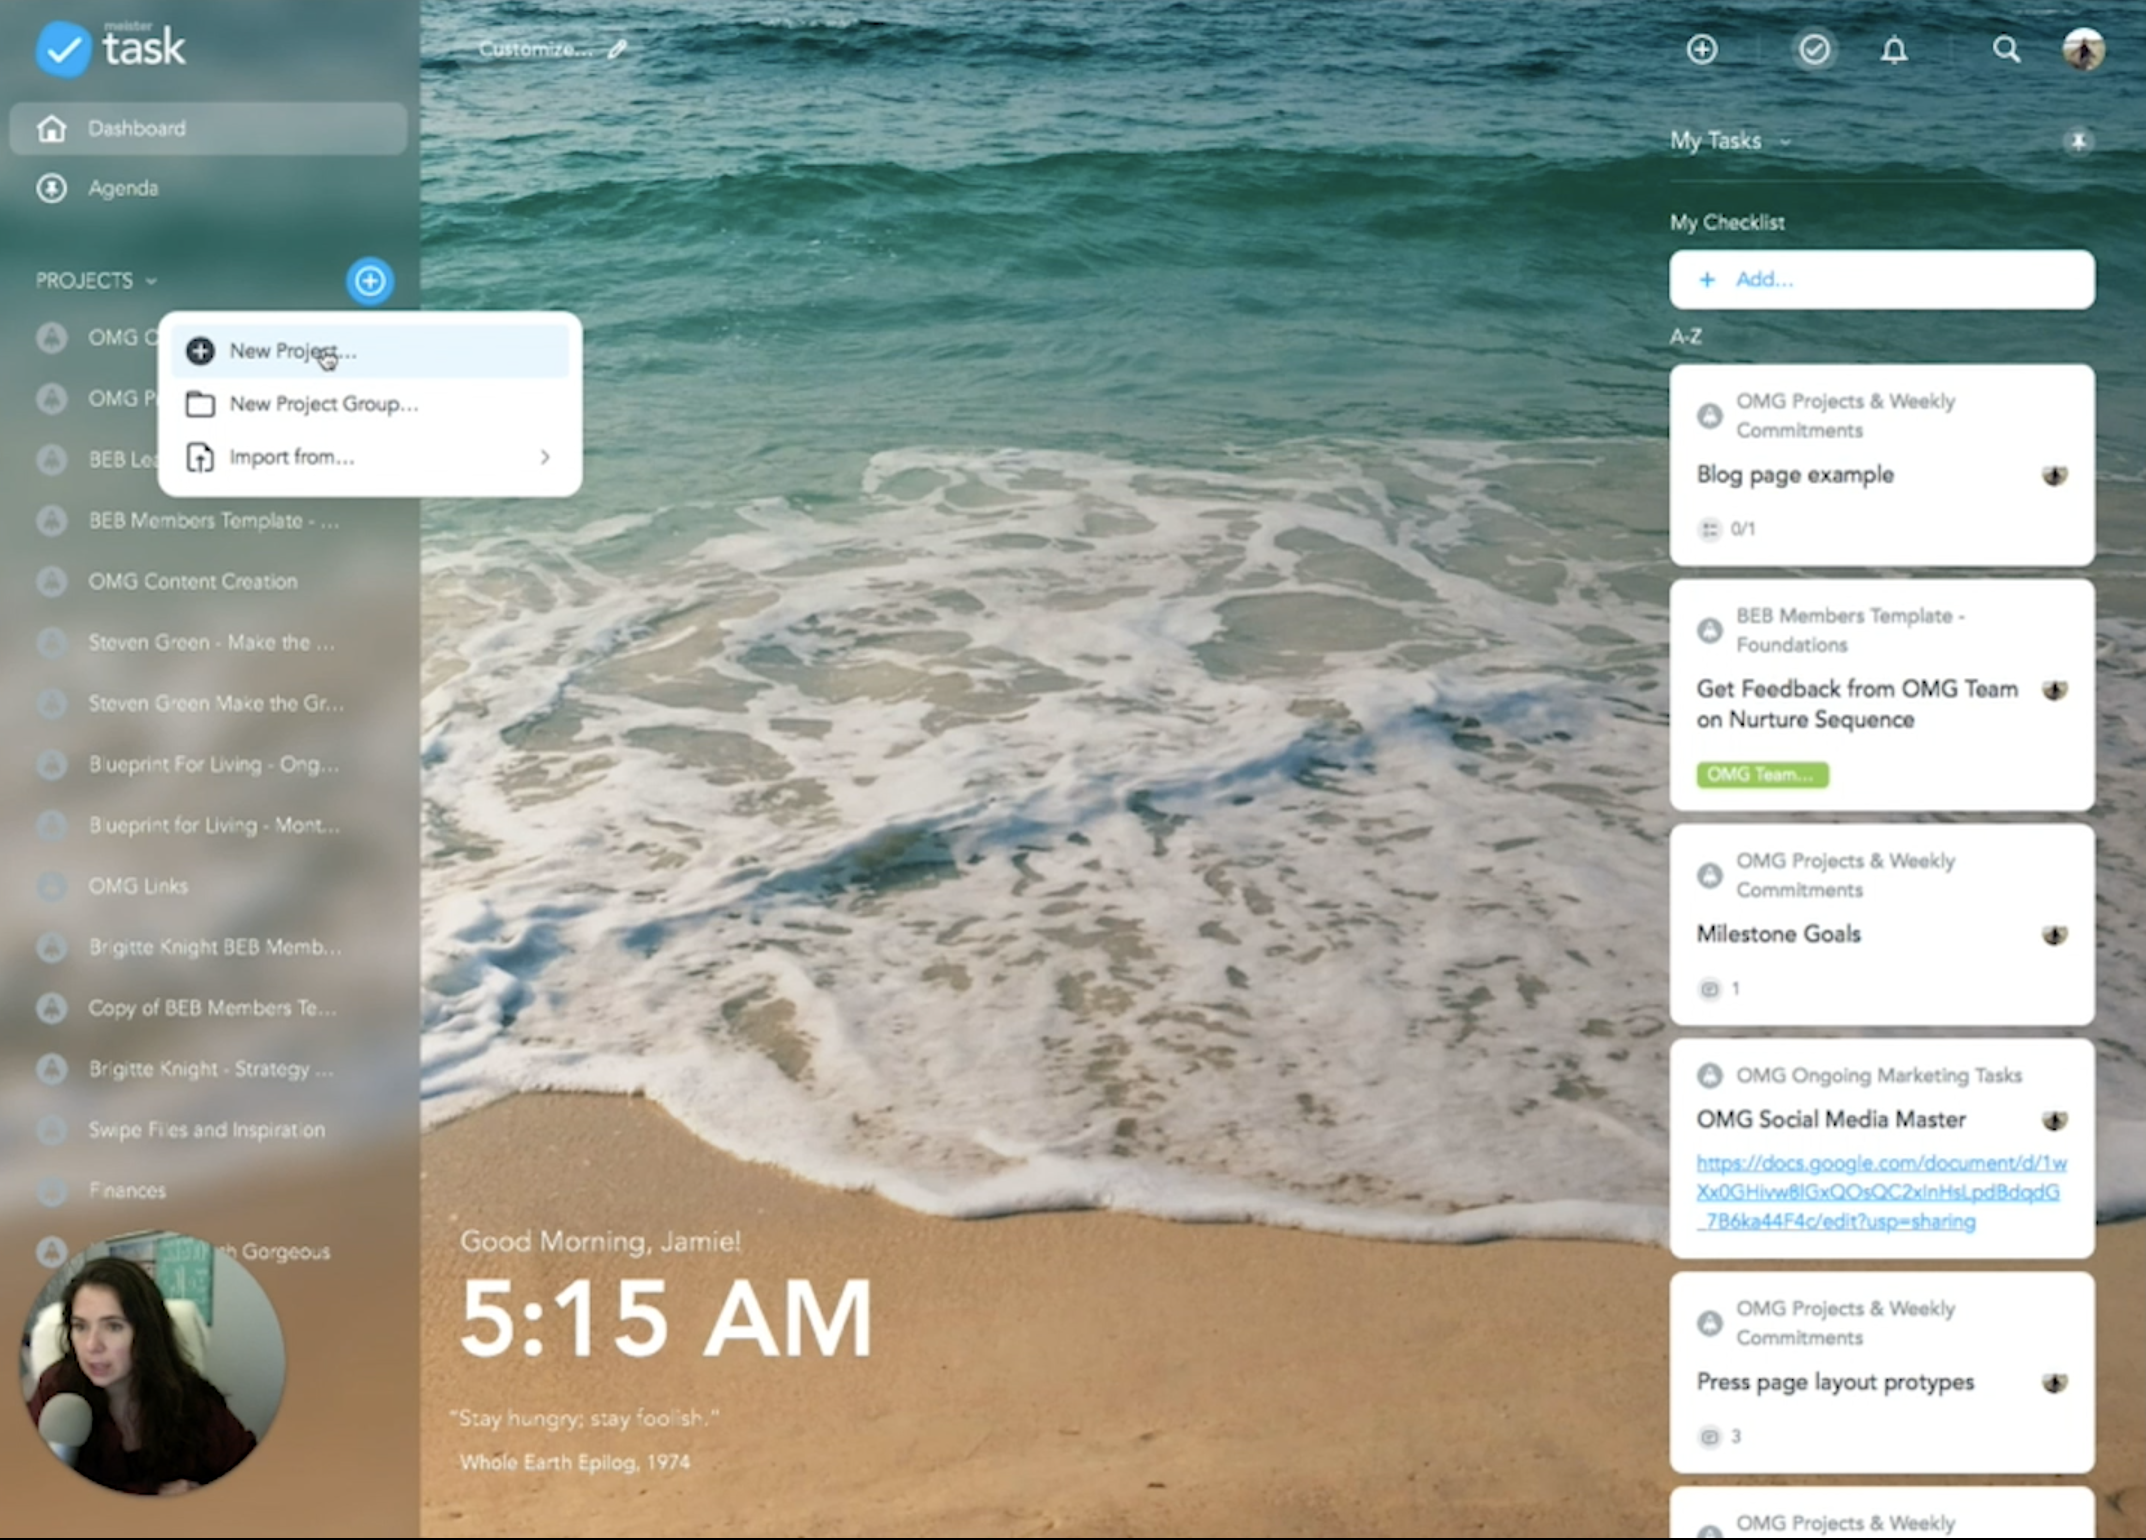
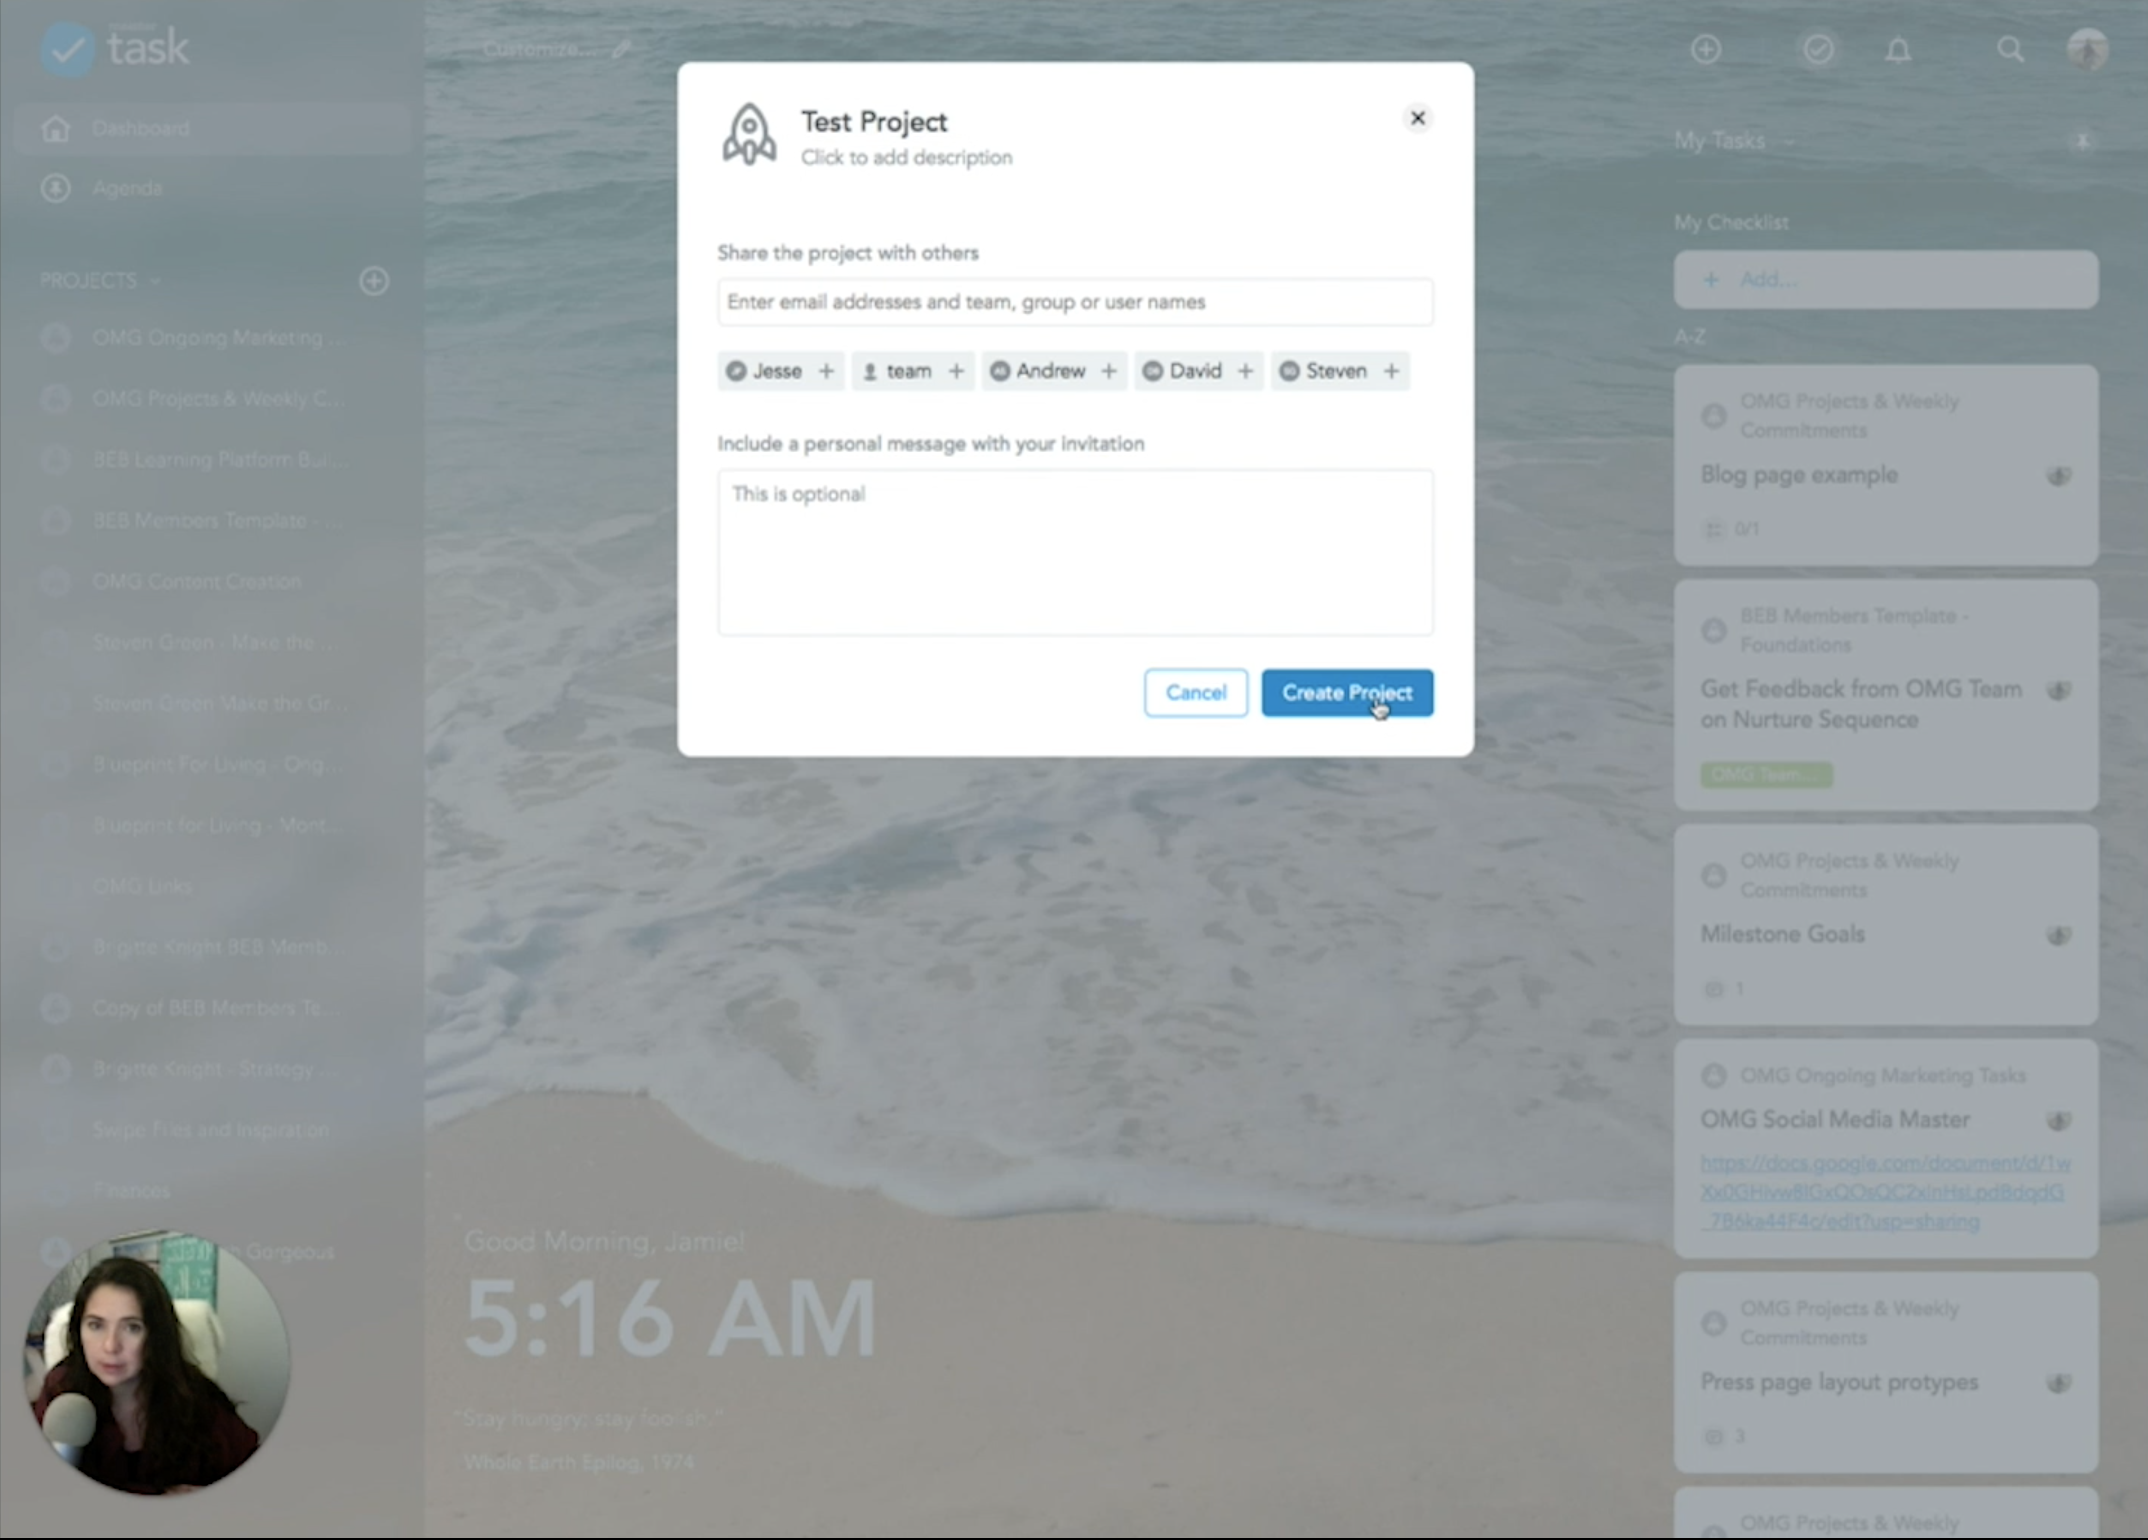
- Under Projects, click on the little plus sign and select new project. For this tutorial, we will call it “Test project”. In this same pop up, you can choose to share it with anybody you’d like (team or client).
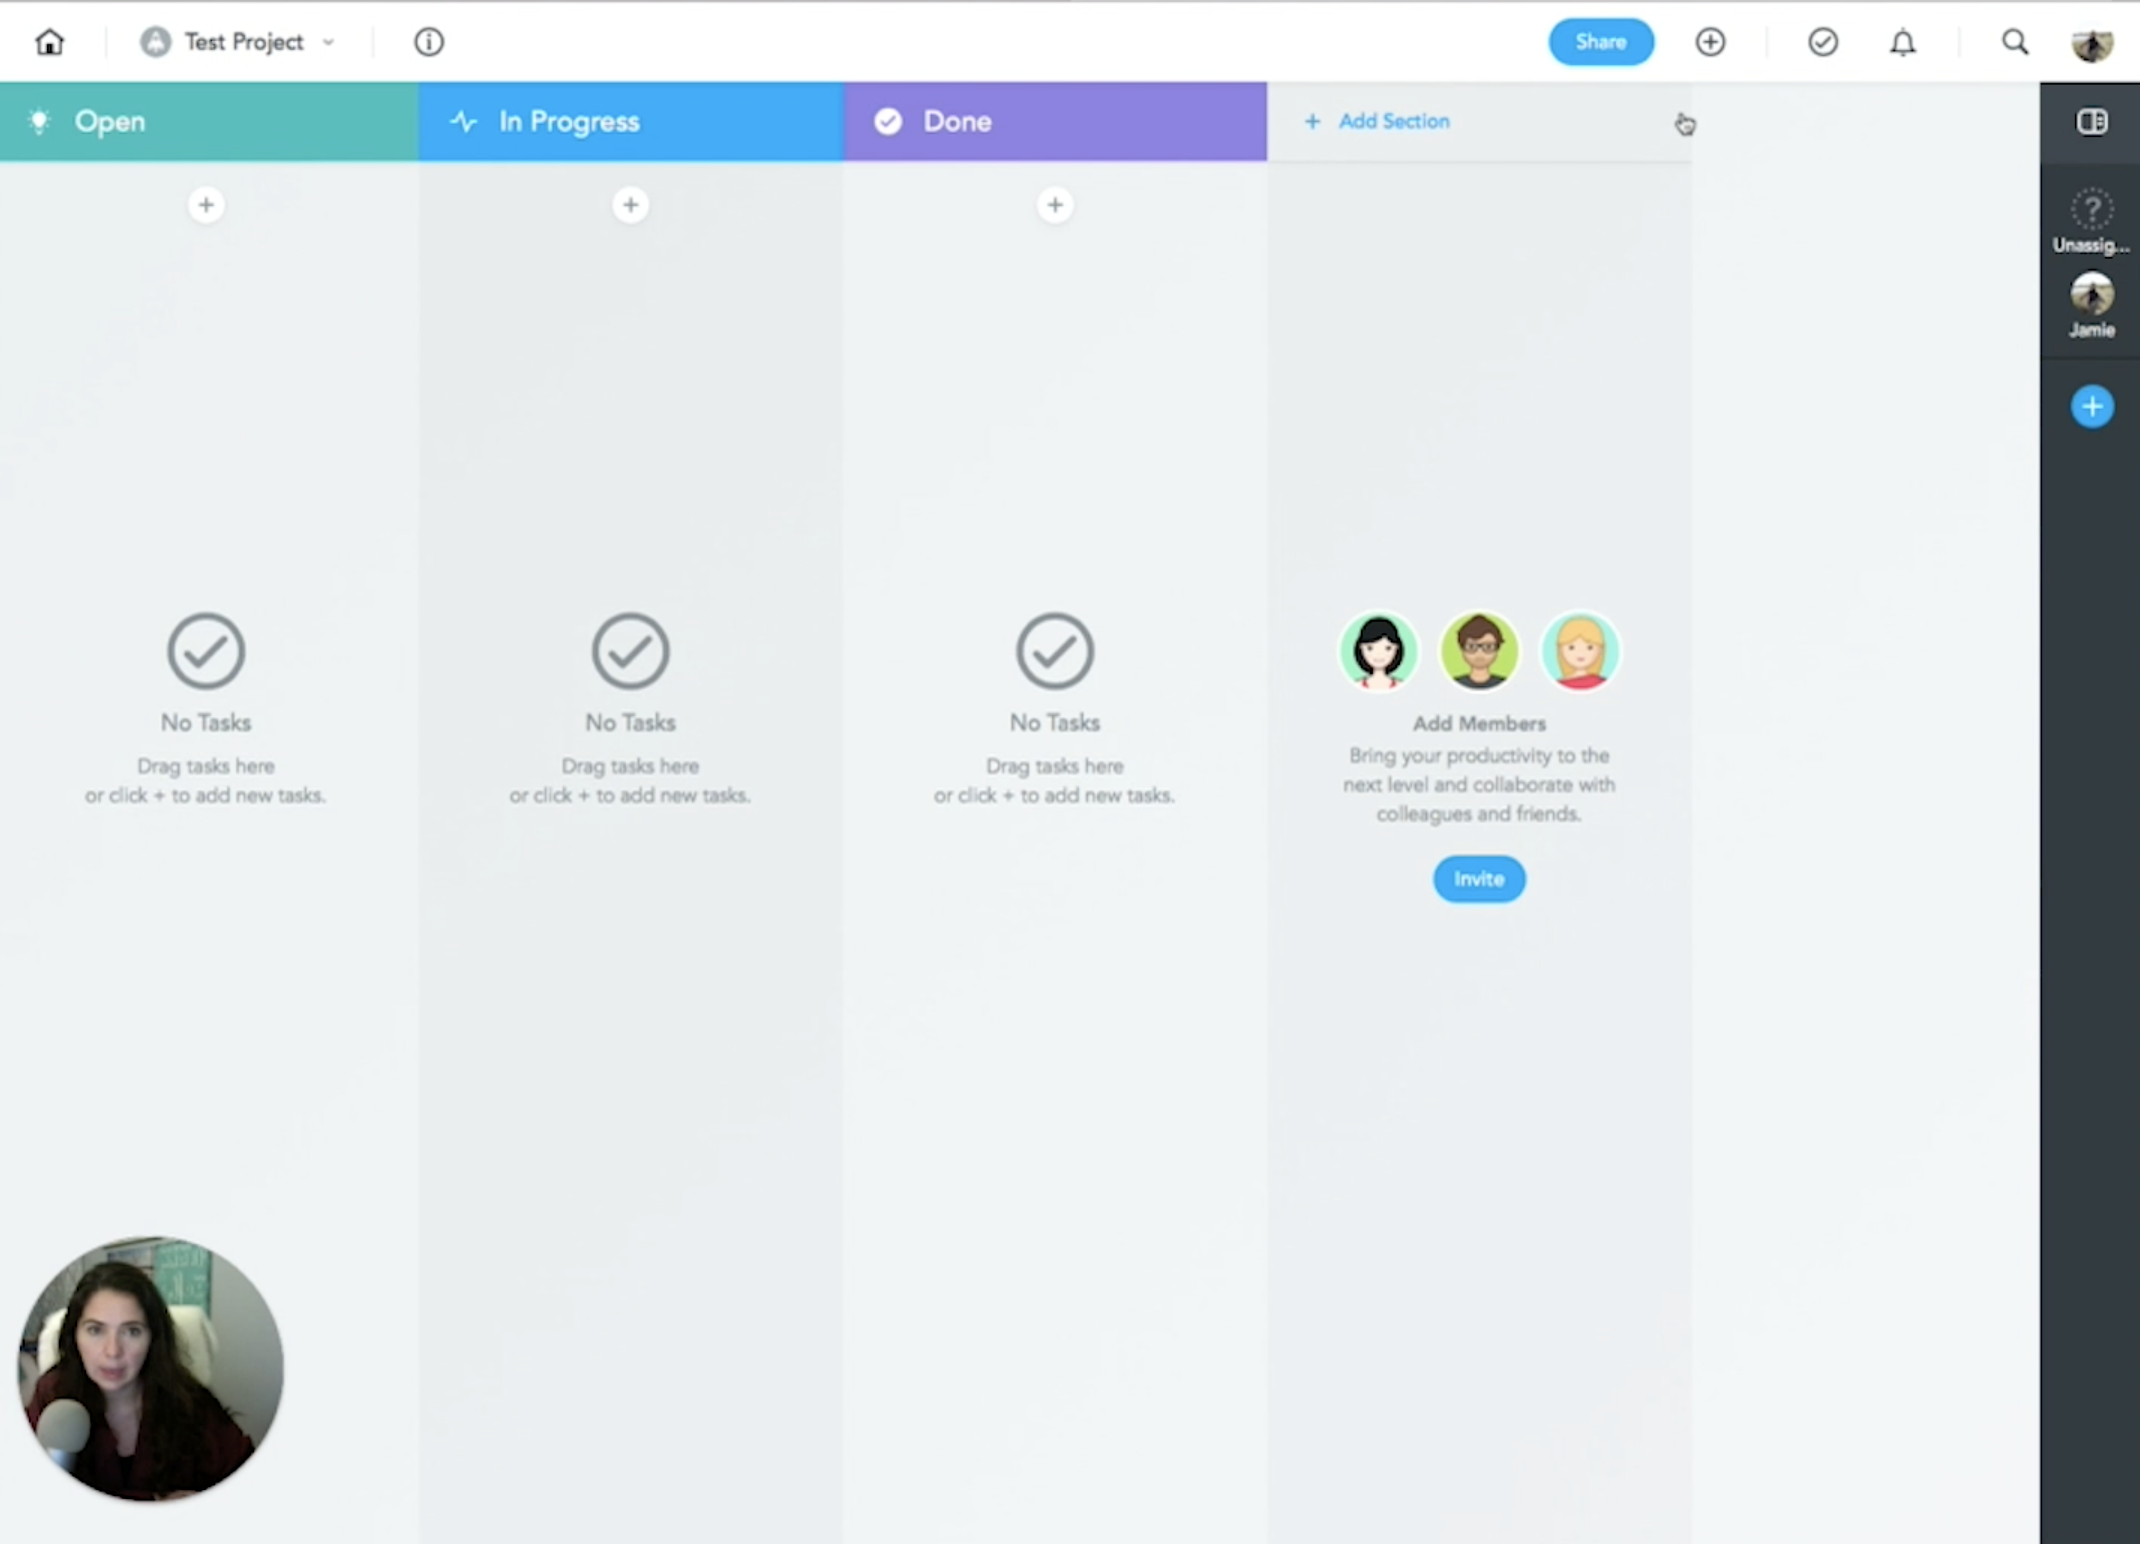
2) This is what your project dashboard will look like. If you click the dropdown menu (Test Project), it will allow you to oscillate between the different projects.
3) The info button to the right, gives you all the project properties and you can create a link to share this project. You will find power ups, which are basically different ways to make Meistertask more beneficial. You can add automation, checklists, tags and create custom fields.
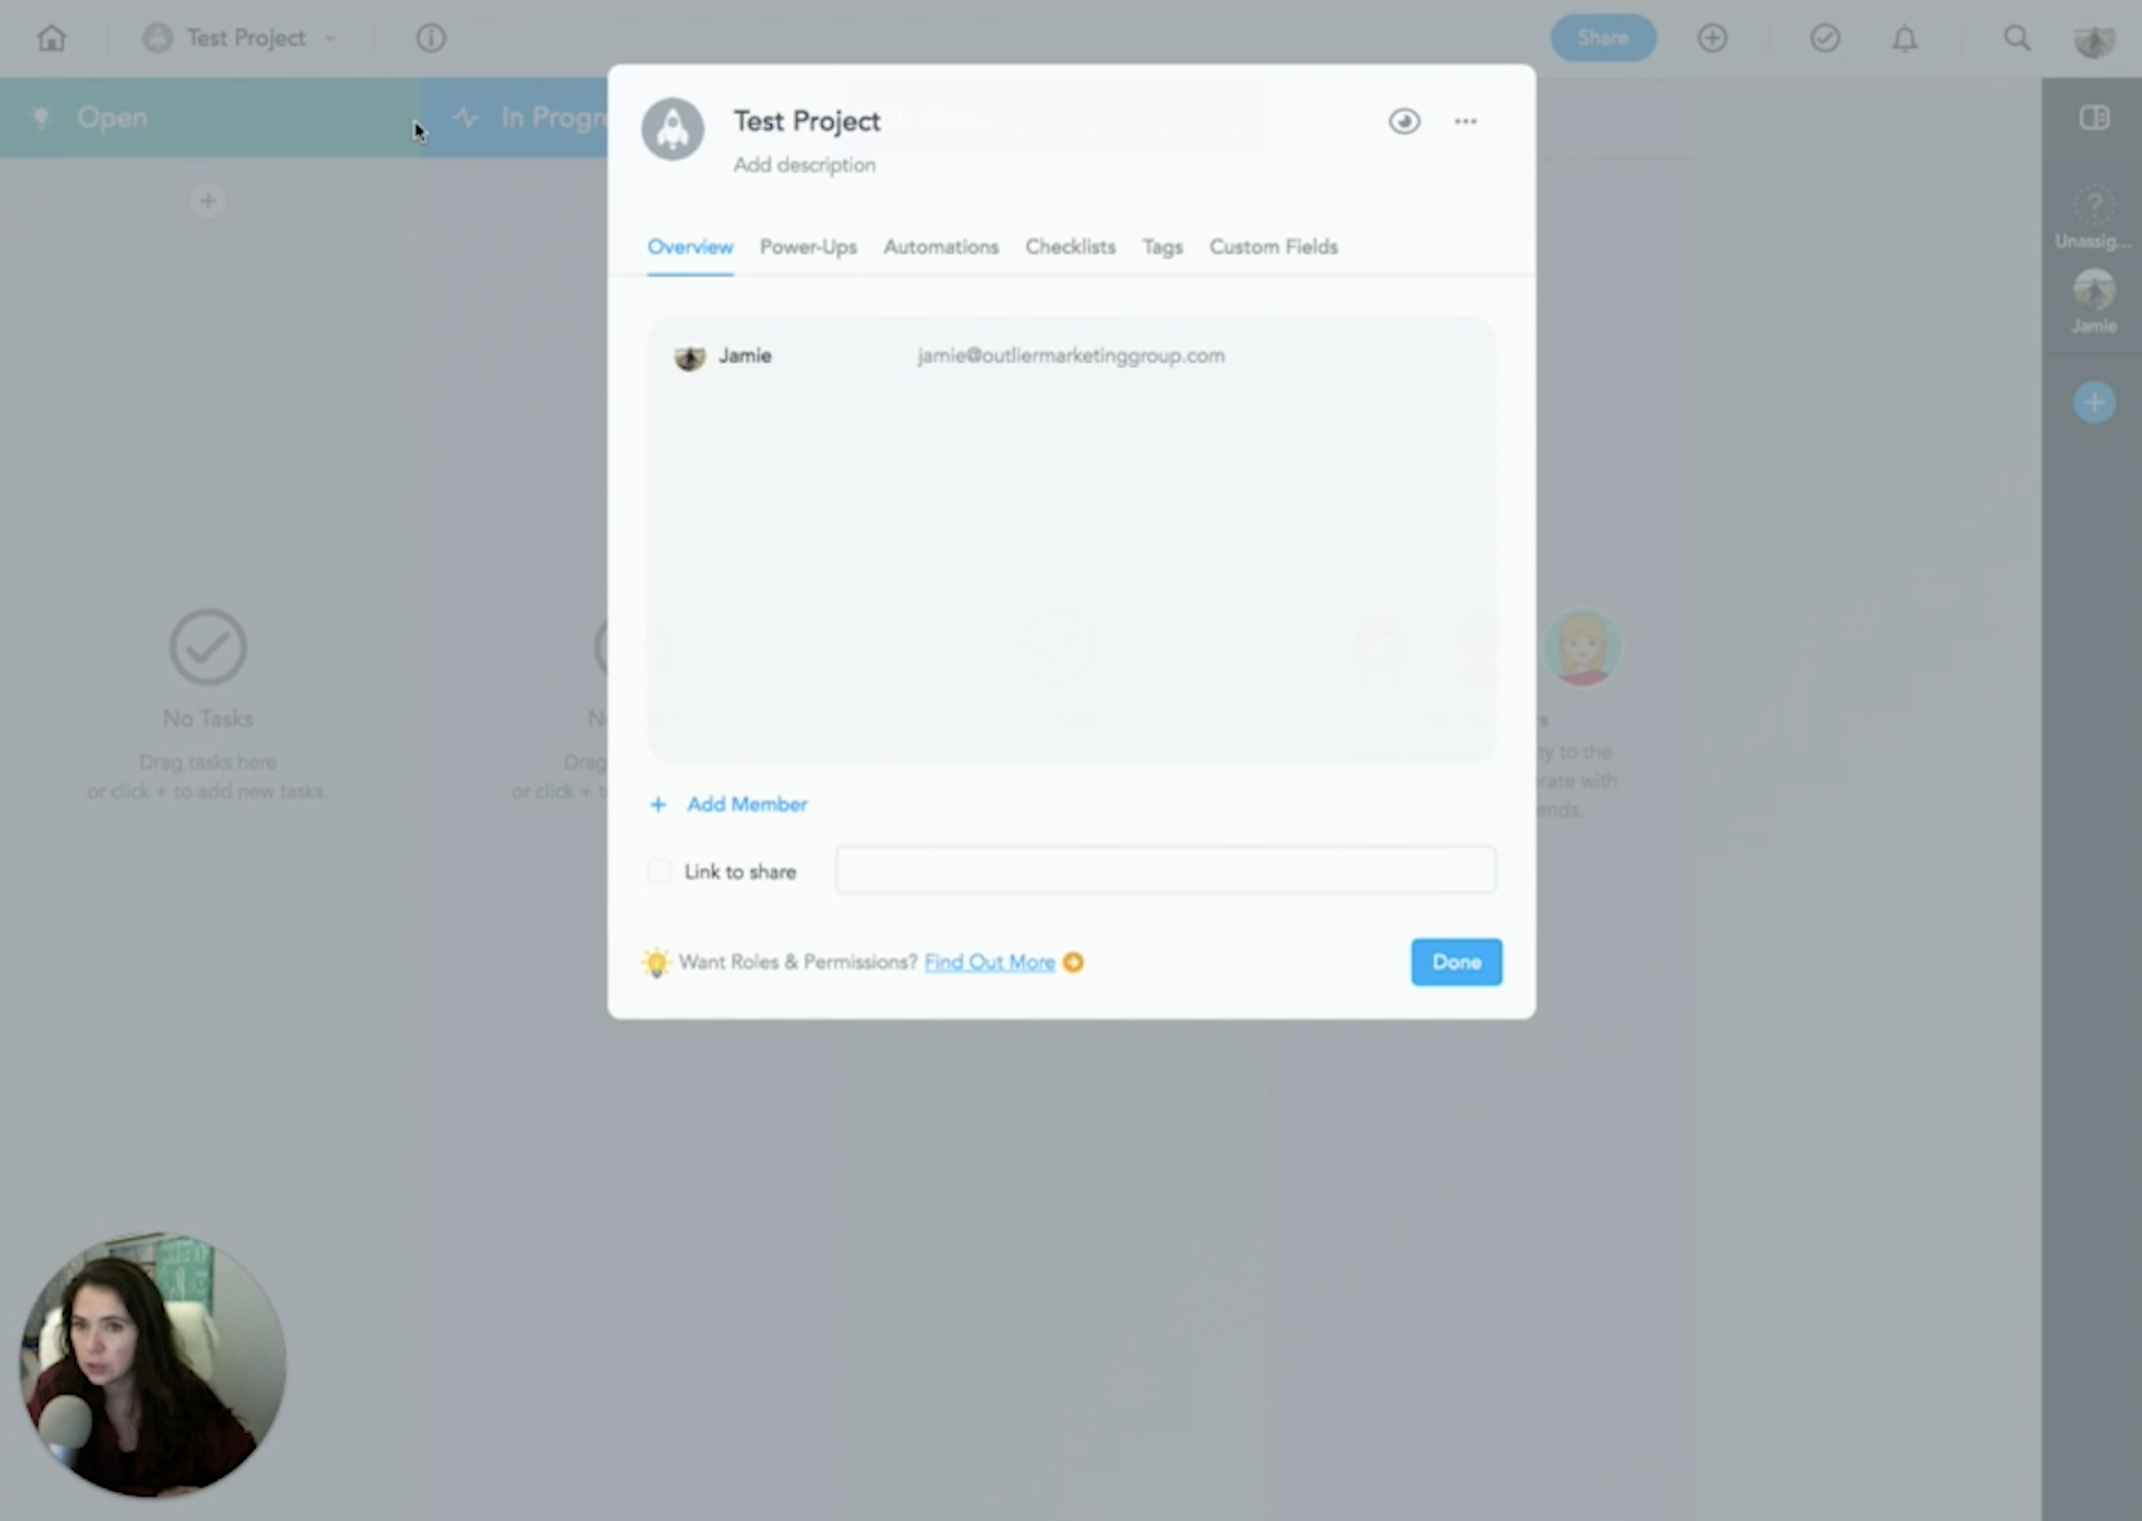
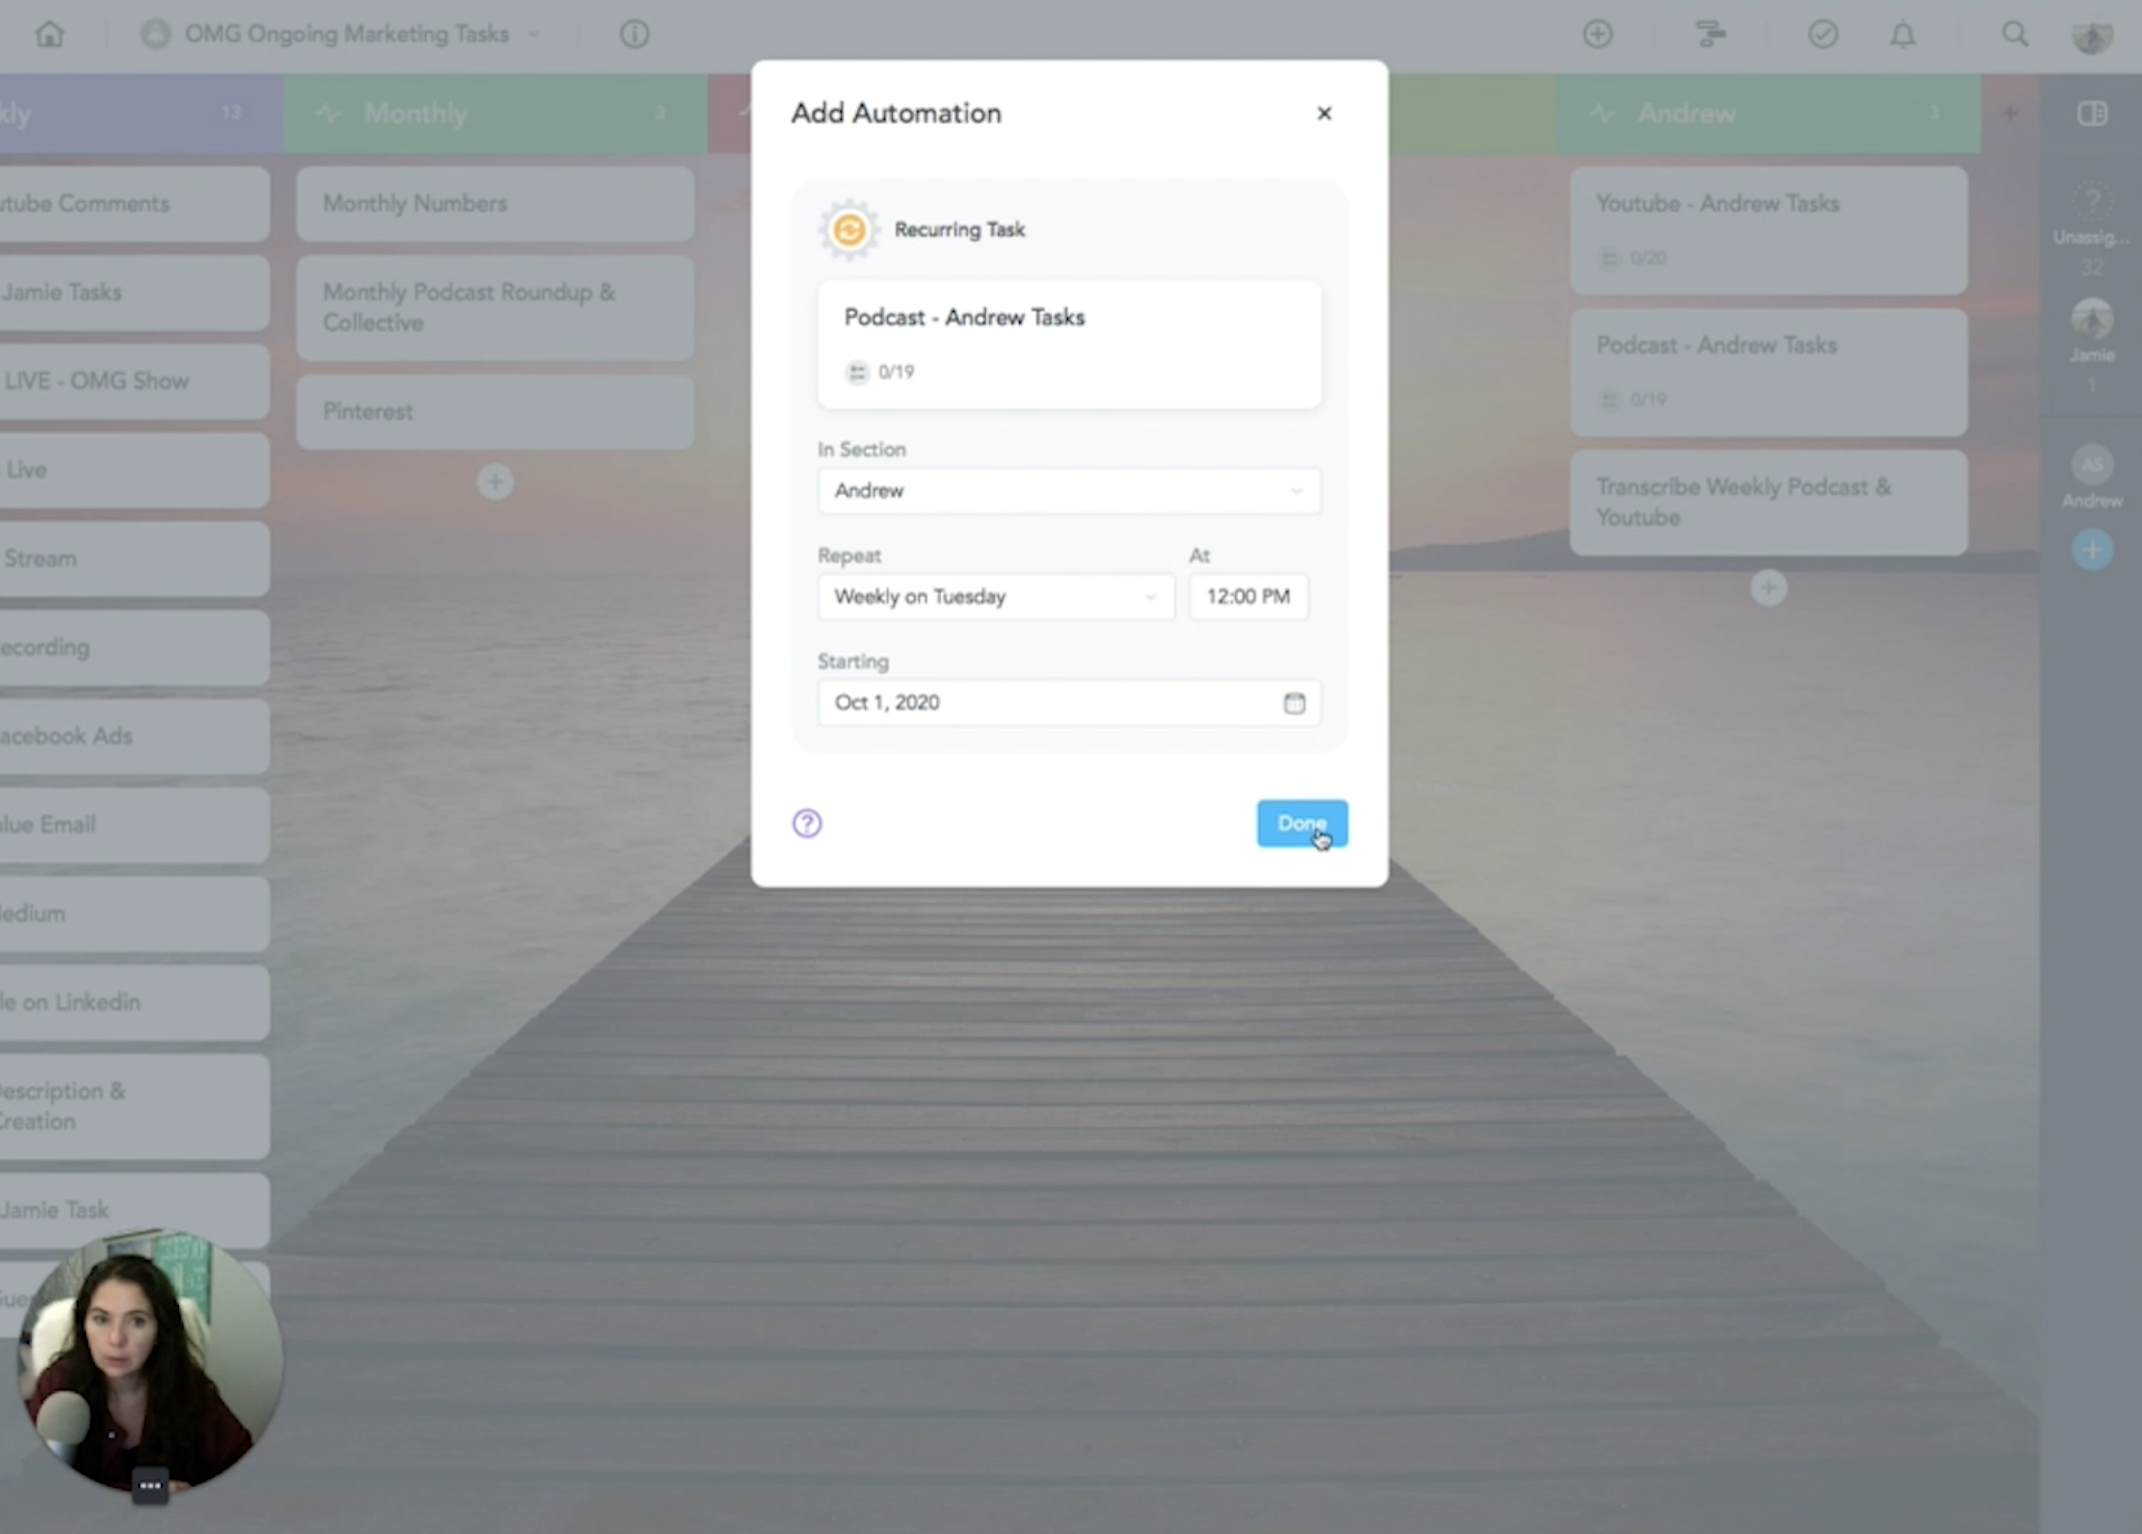
So for example, when you assign a task, something happens and triggers many other action steps. The recurring task is also a very helpful tool! Familiarizing yourself with the different integrations and the different automations, is super important.
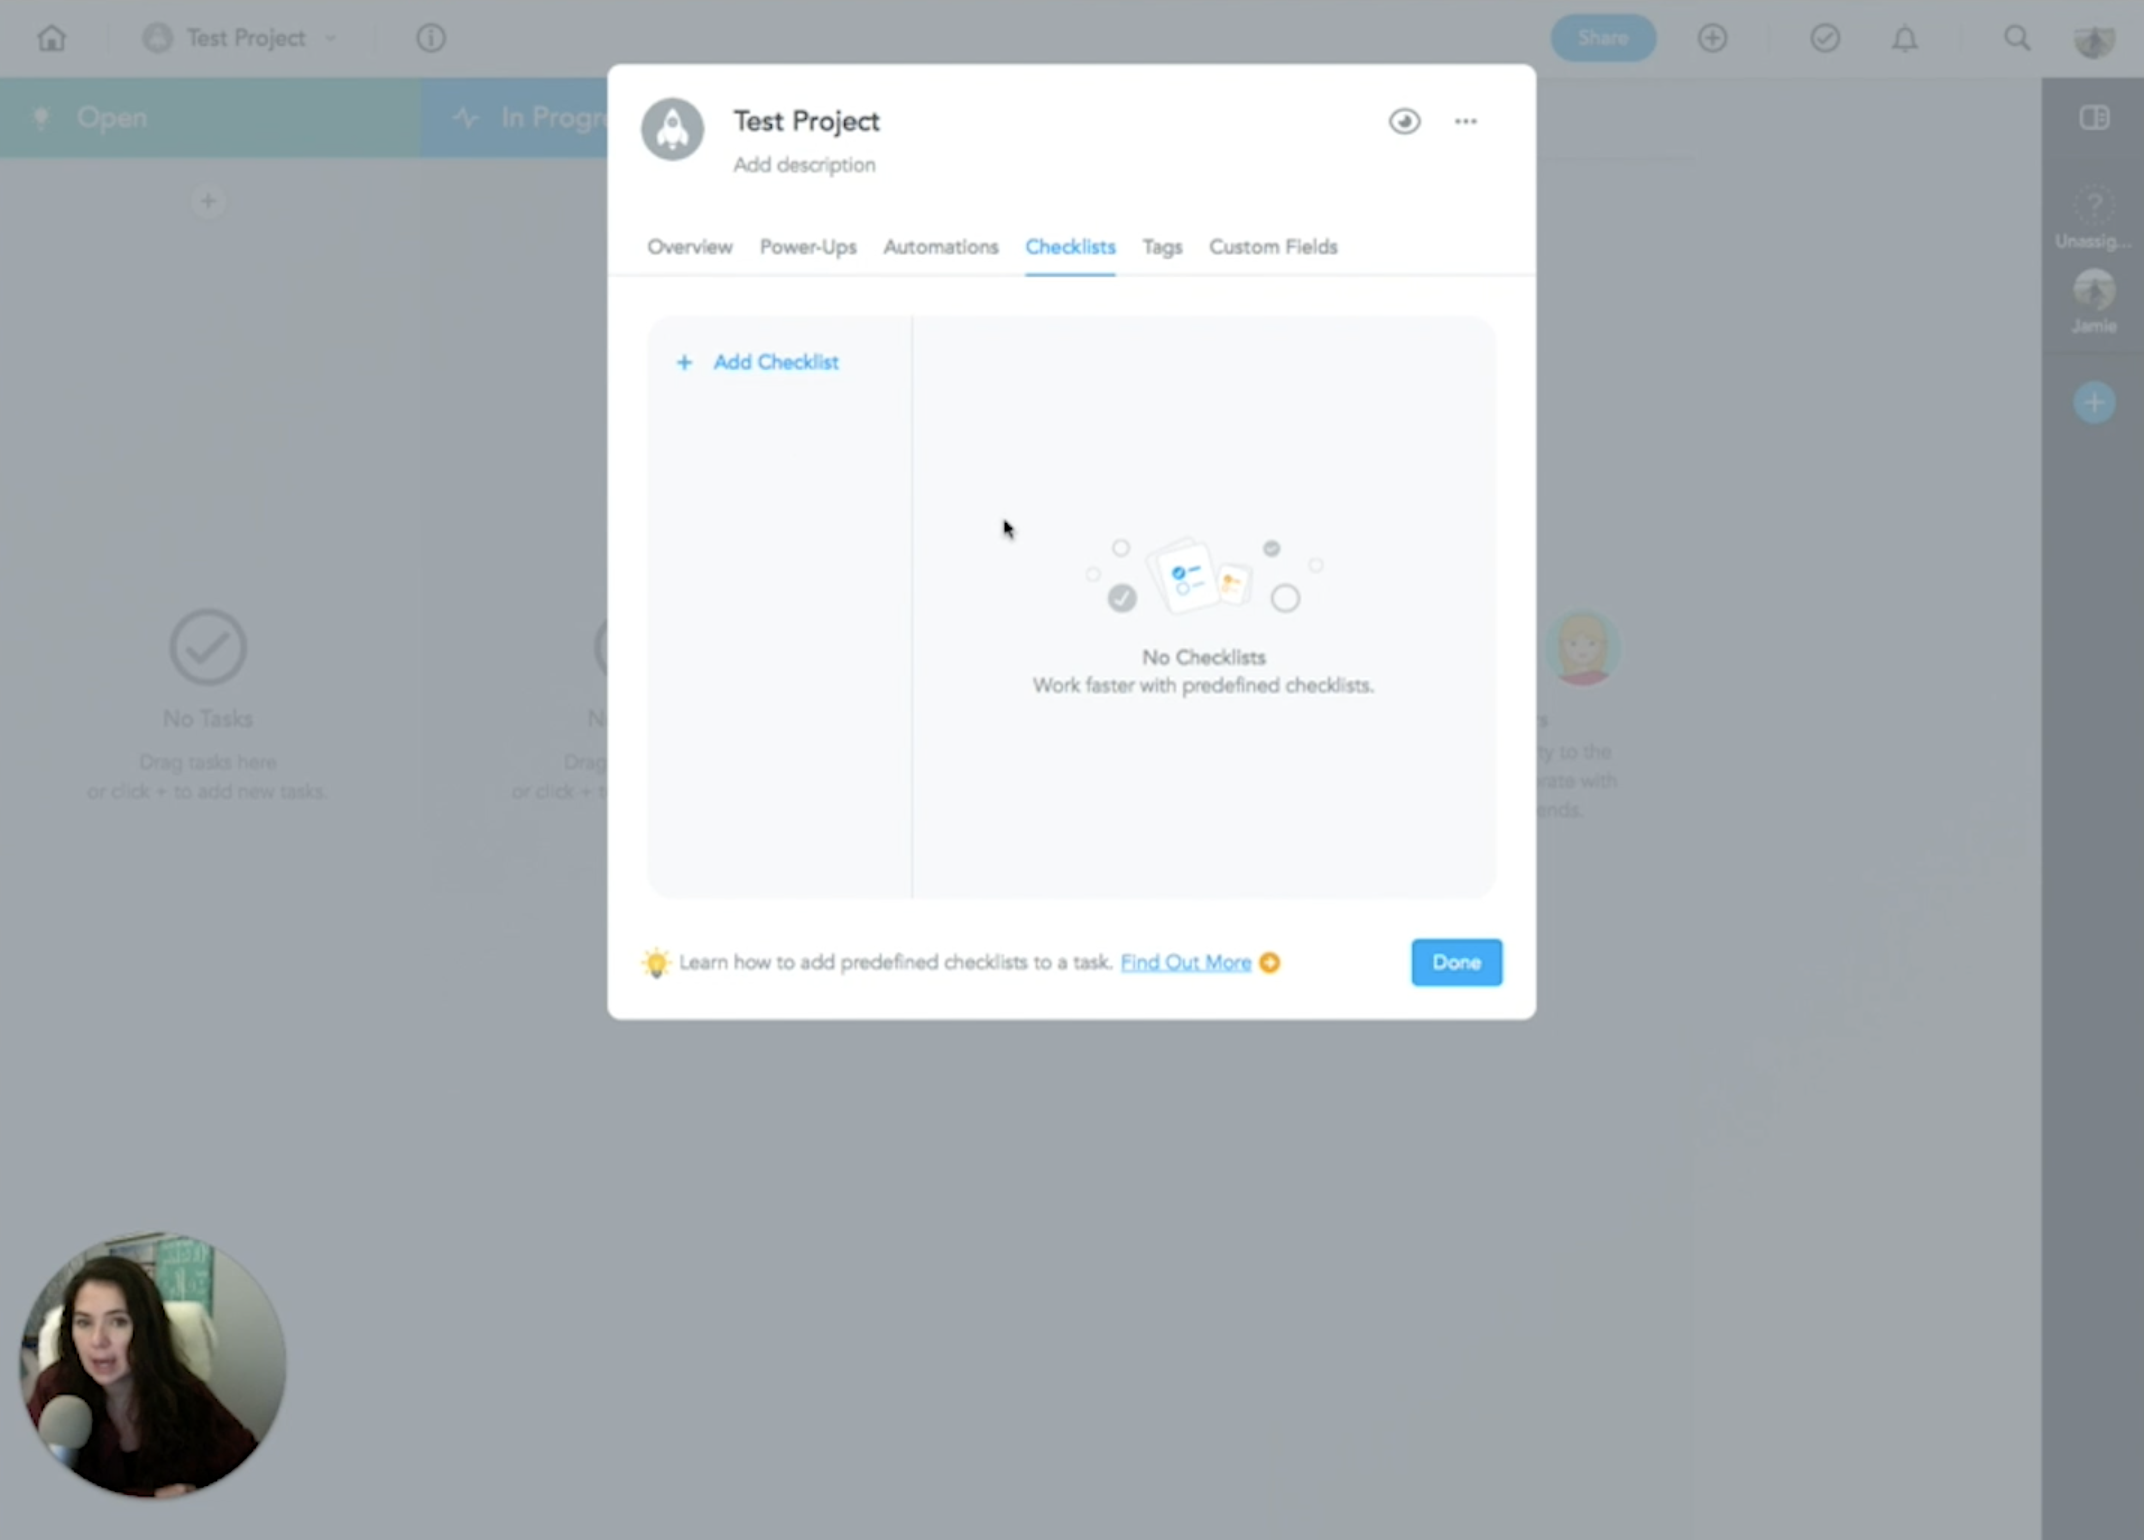
4) Let’s look at adding a (predefined) checklist. If you have a task that repeats, I would suggest you add it to that checklist so that every time you create a project, you’re going to have that checklist in place. Again, you can add tags to organize and label everything. You can add marketing, and color code it. If you have the business version, you can also add custom fields.
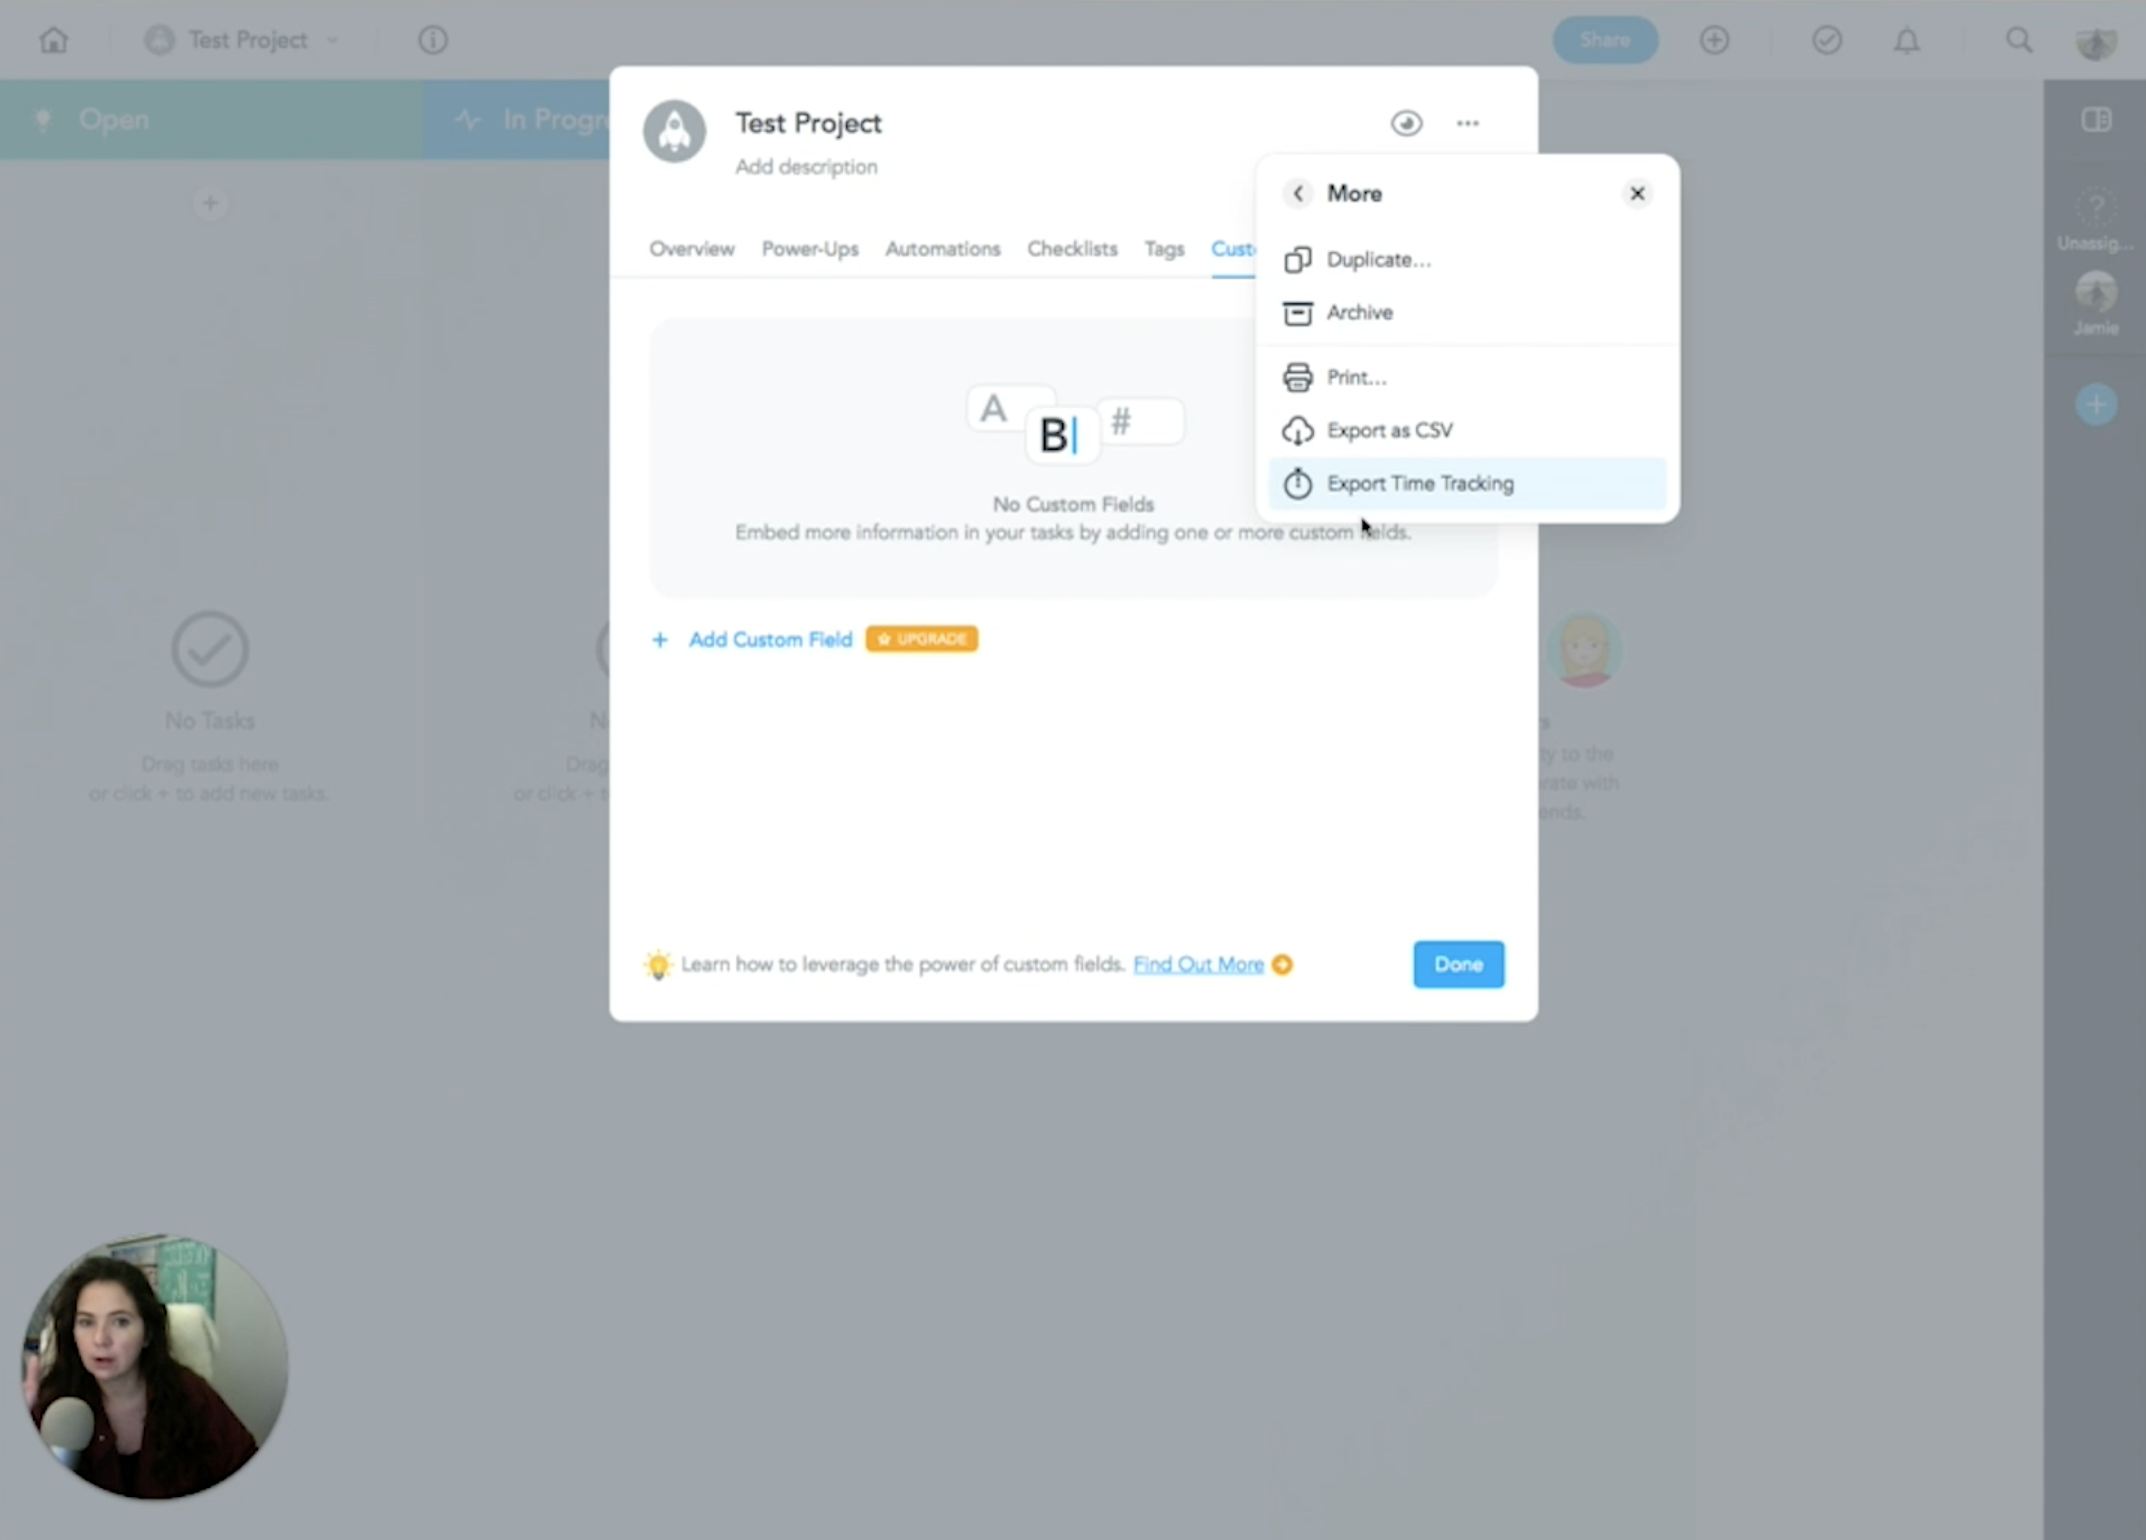
5) The little eye symbol allows you to control who gets to see this project. If you have a team set up, the team will be able to see all the projects that you have set up versus if you just add different users per project. You can also duplicate, archive and export your project.
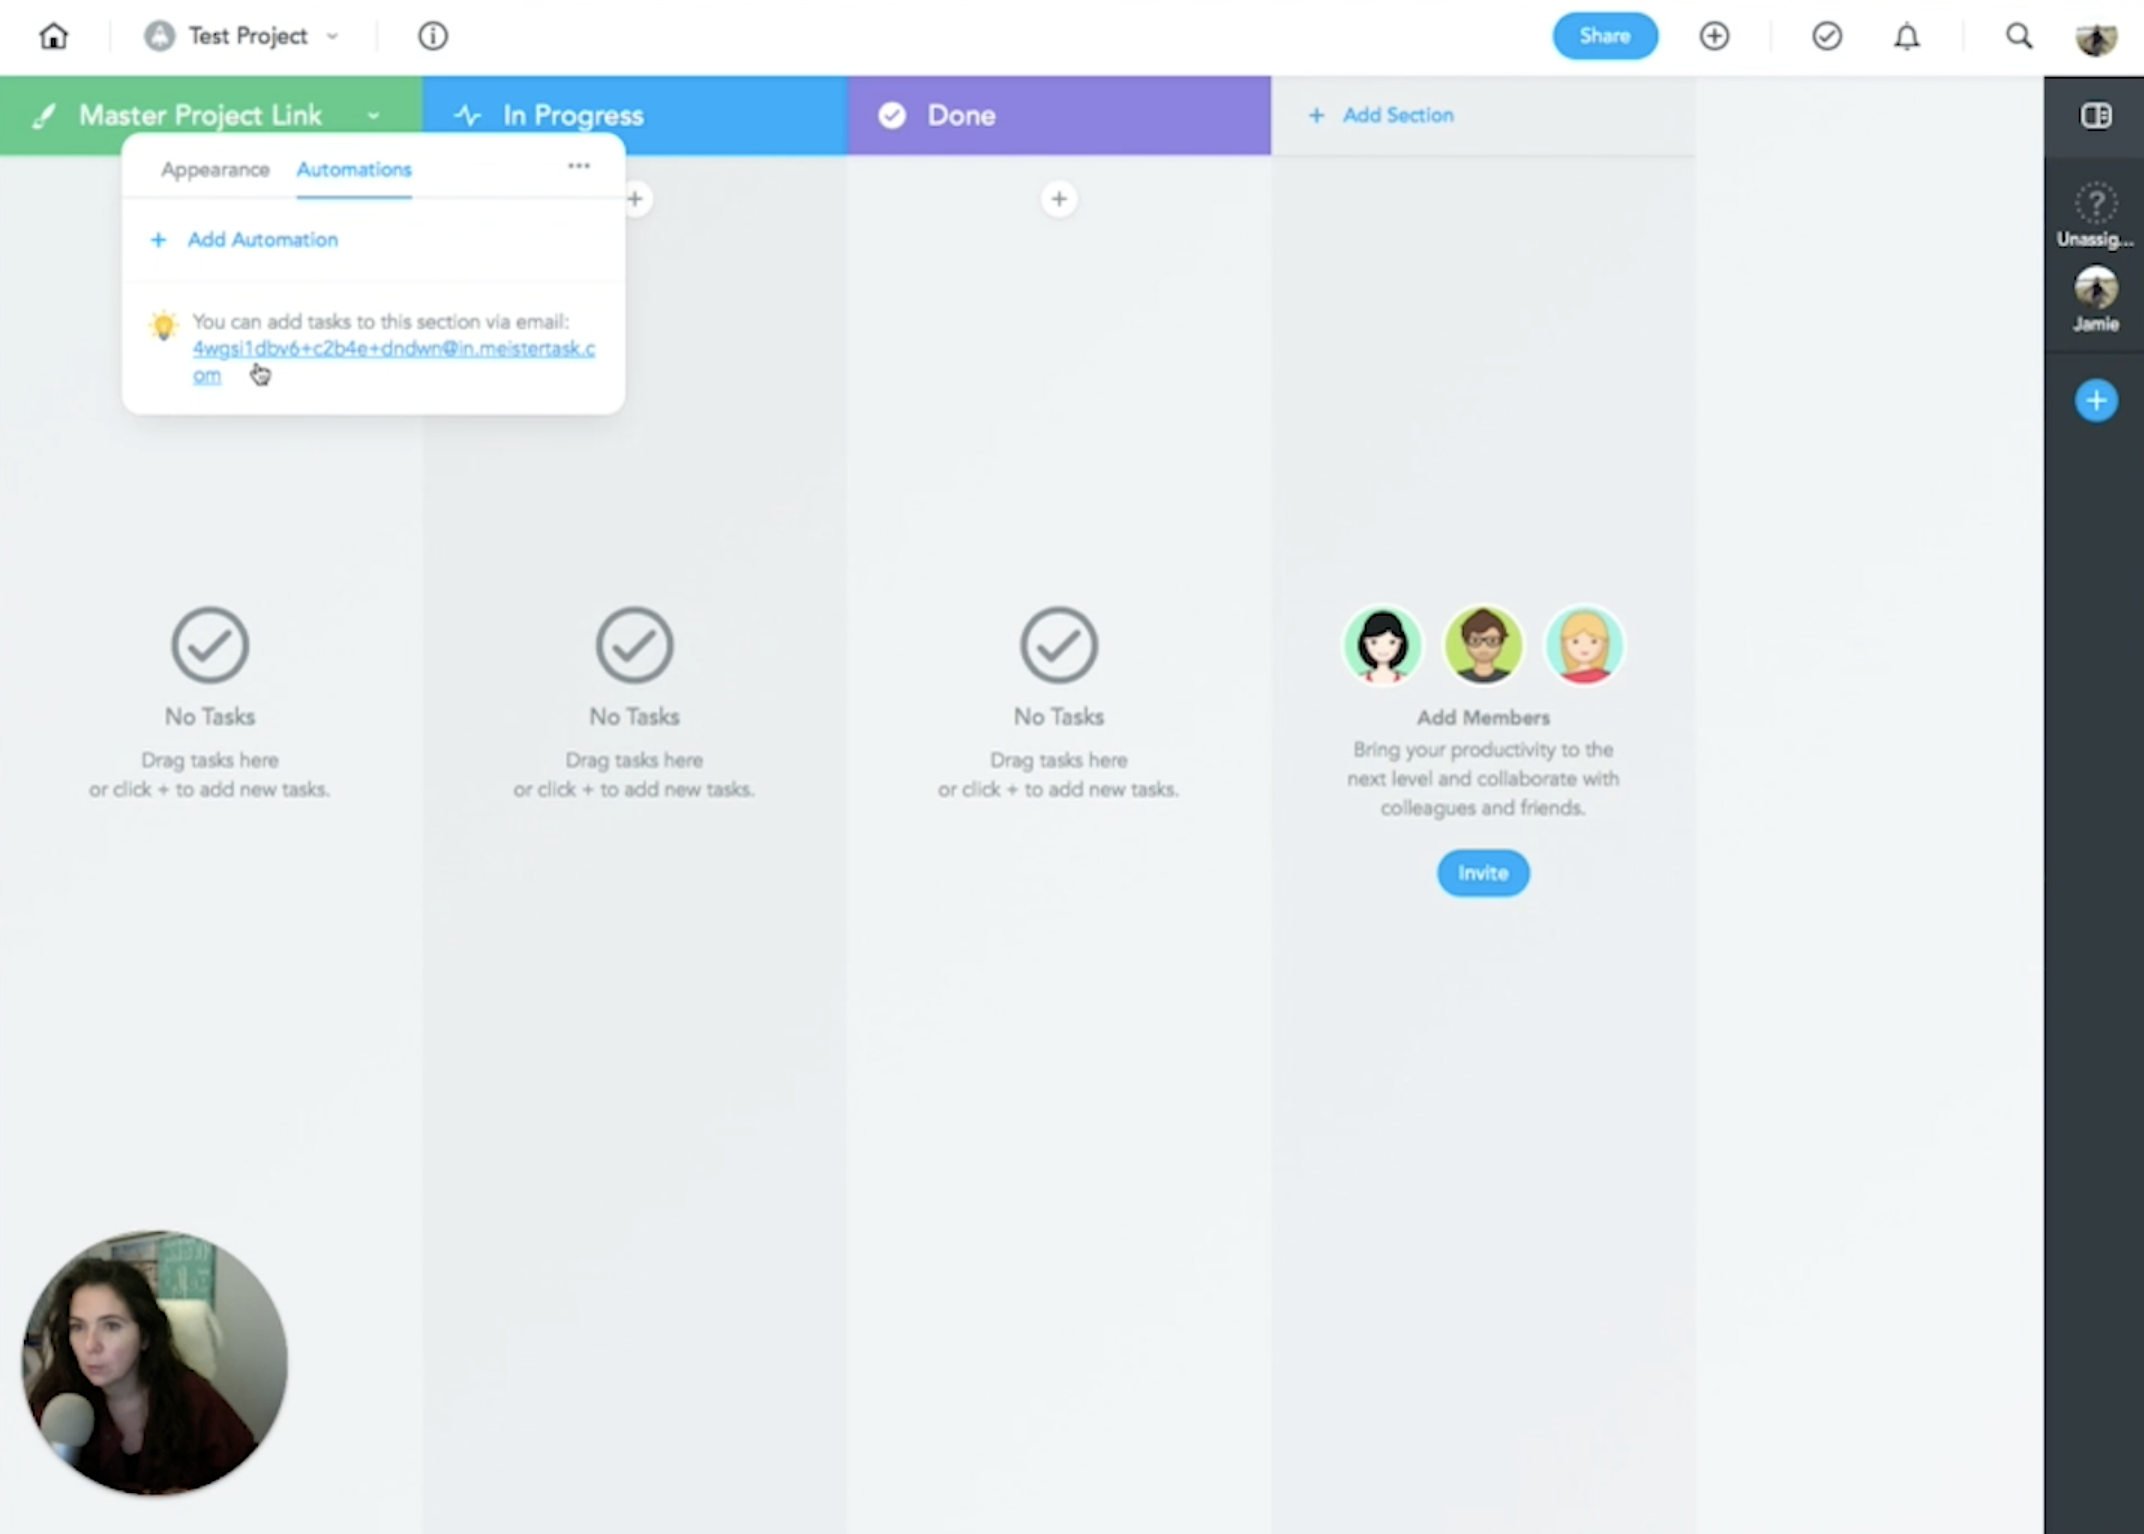
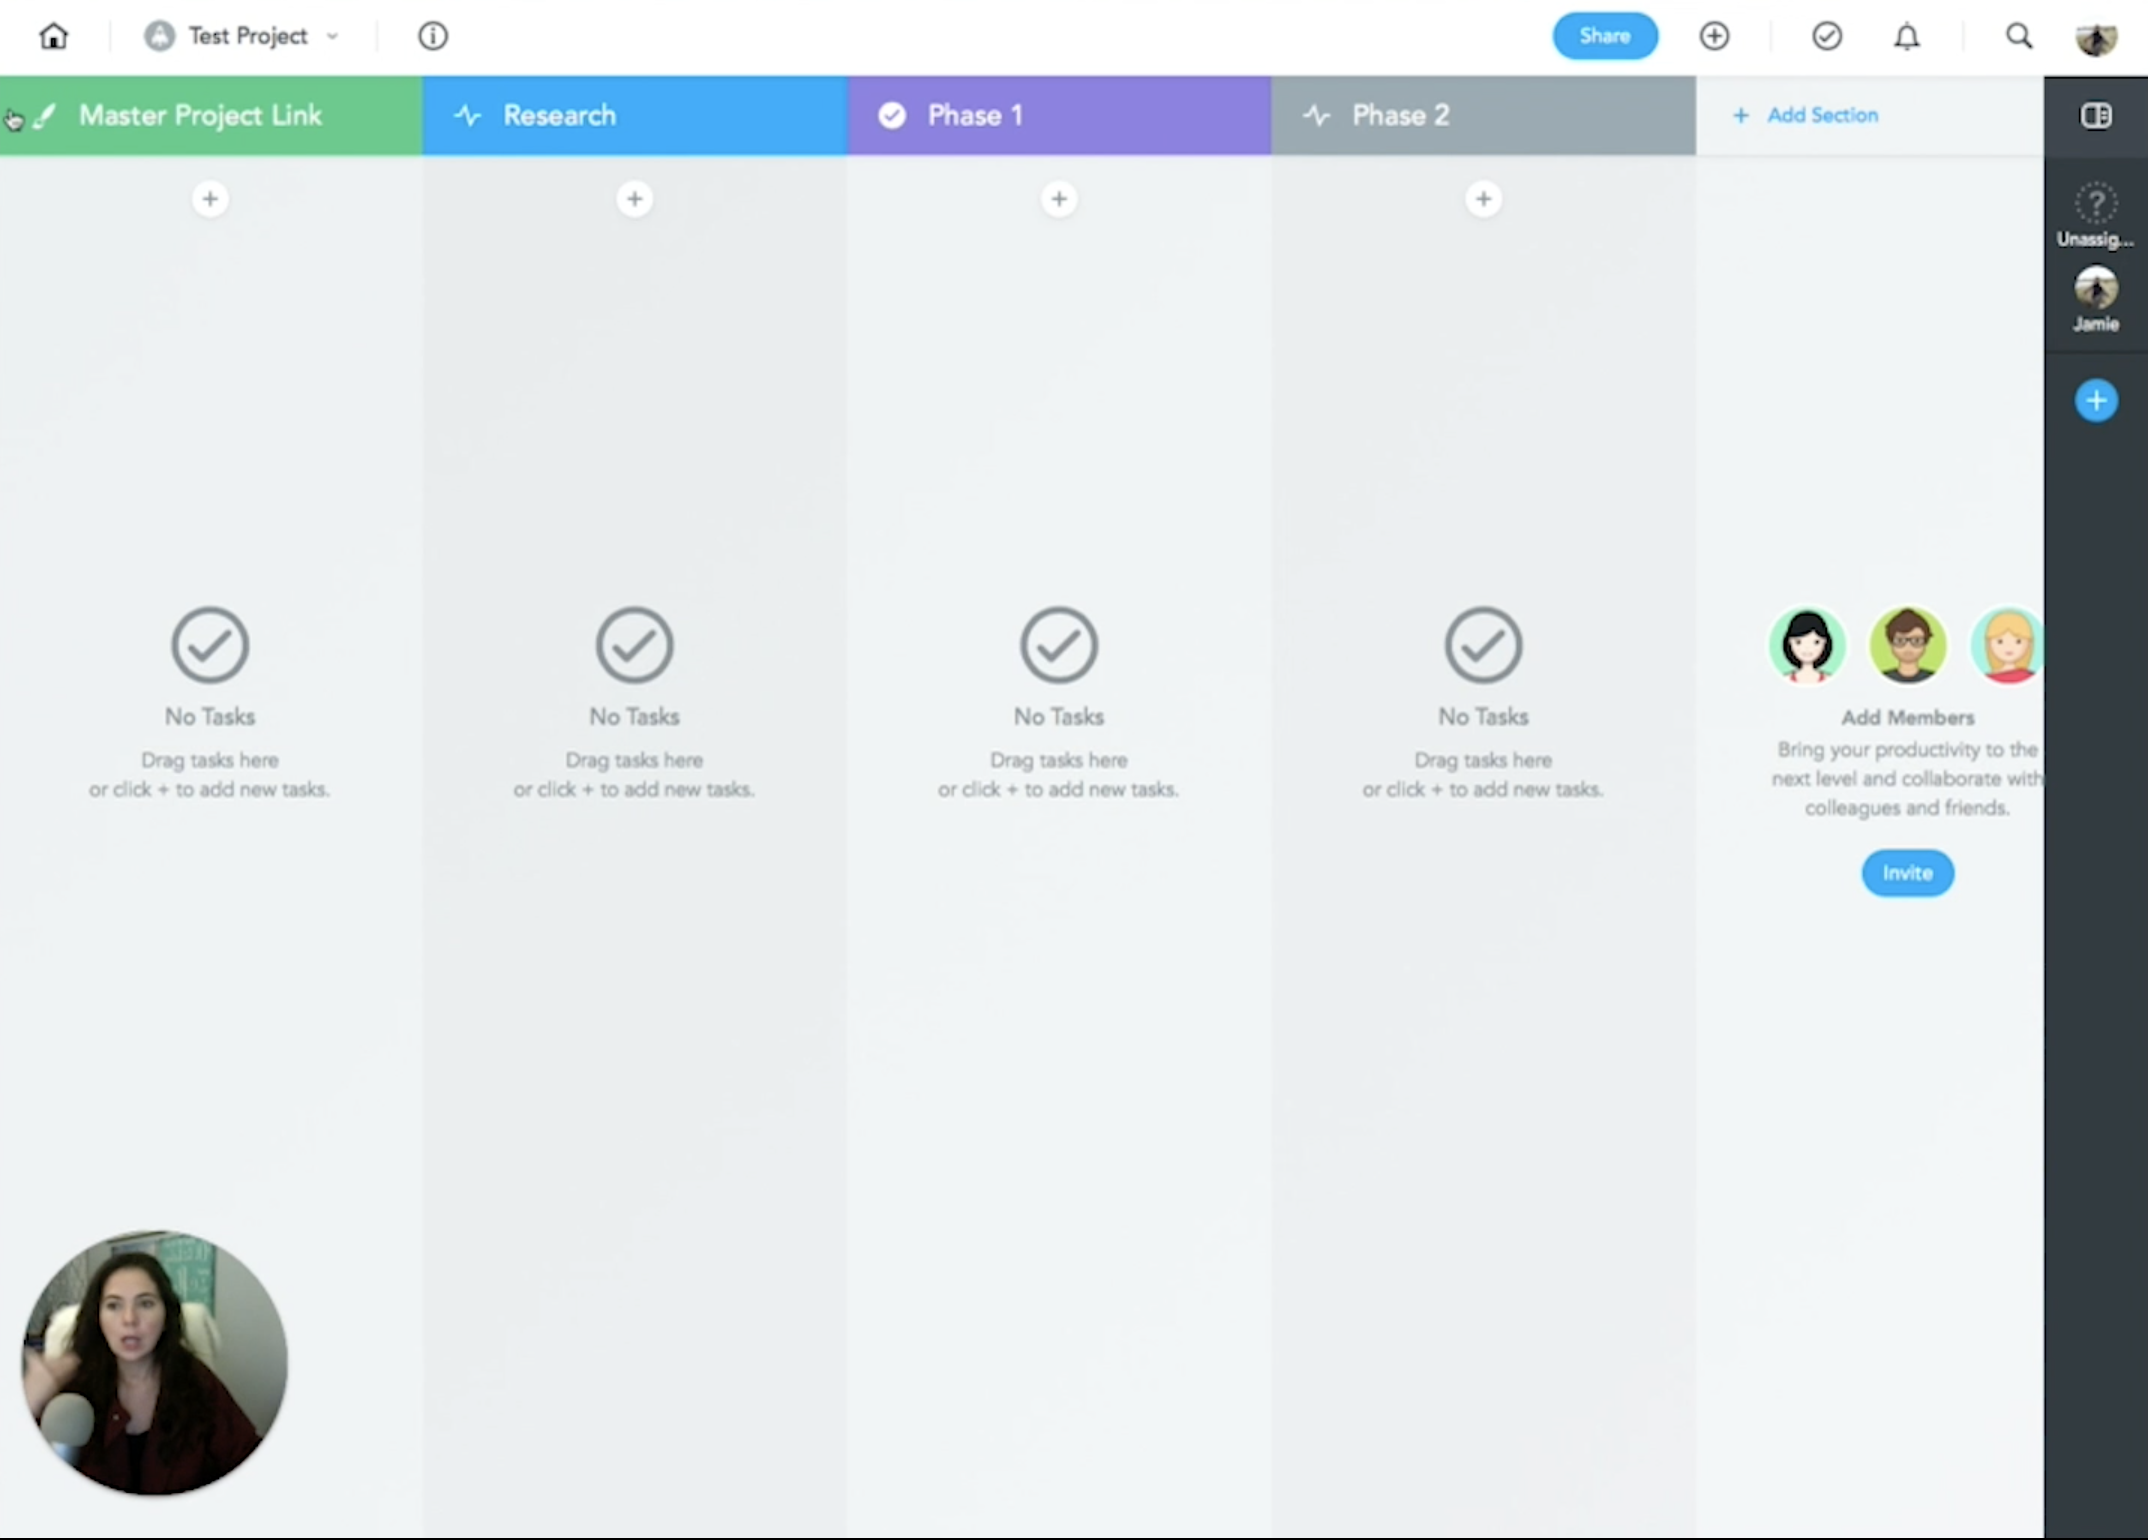
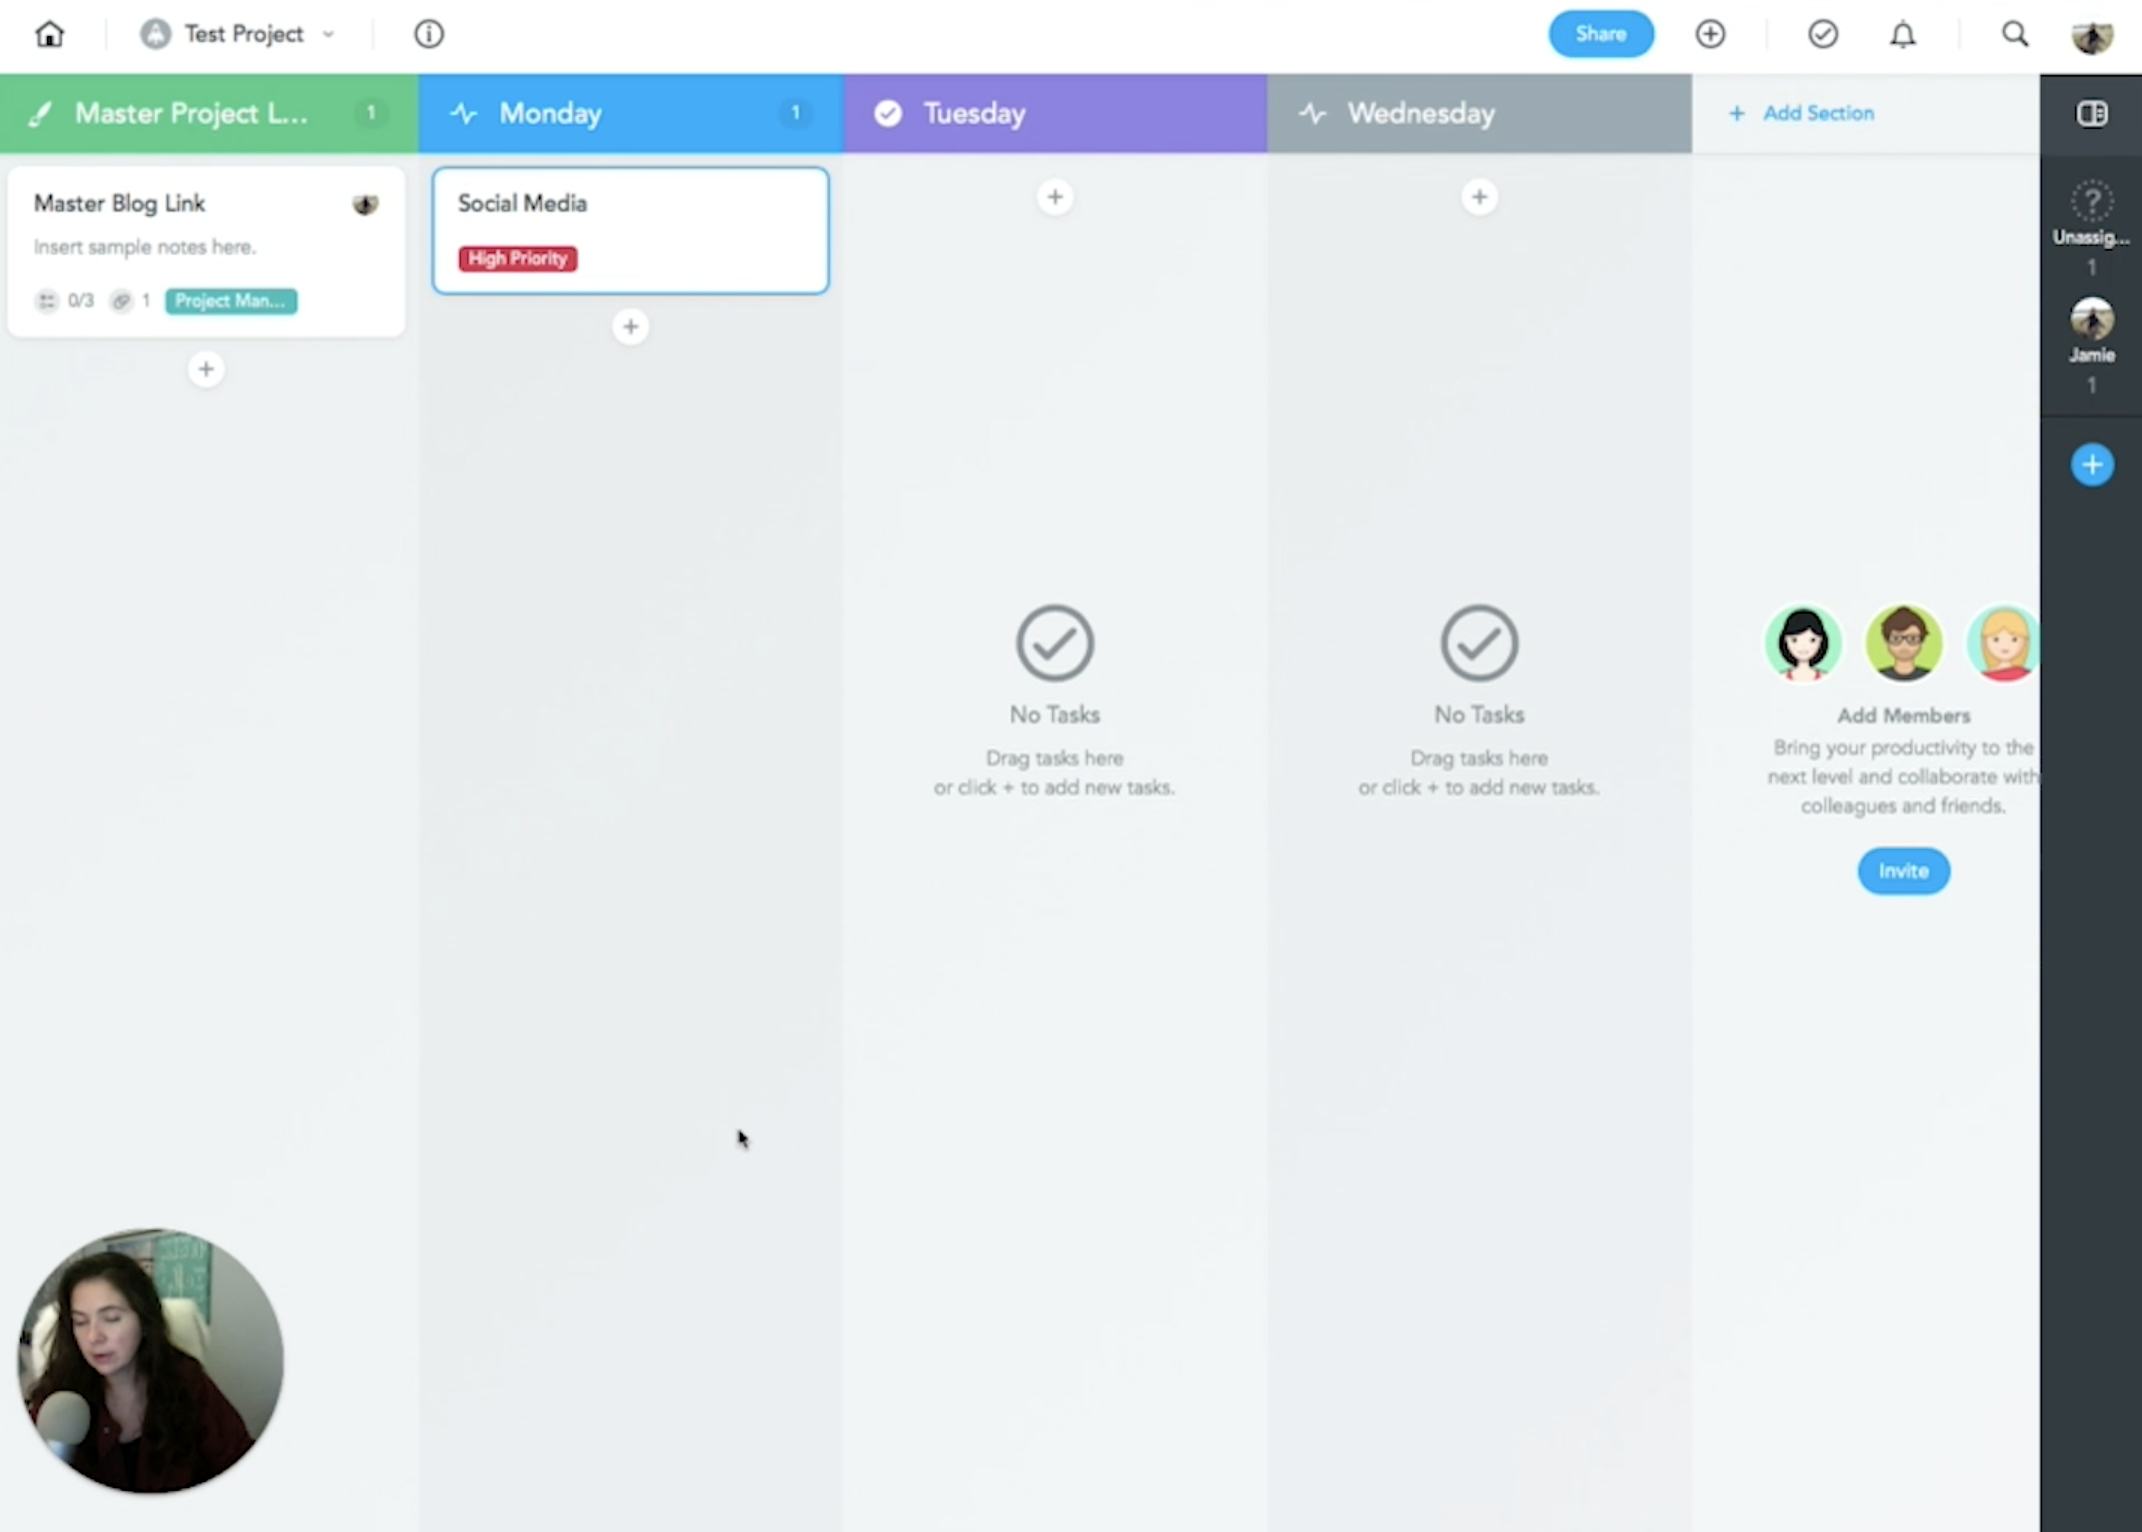
6) Once you have set up your project, by default, you will always have three columns. The way you can set up the project, is to name the first column master project link. Again, you can customize the colors, add automation etc… A really cool tip: When you click on the little arrow next to the column name, under automations you can copy the email link, and you will be able to send emails to this board of this project. It’s really simple. All you have to do is go into your email contacts and save the given link under the board name. Now you can simply email your ideas to the boards and organize it later!
7) Ultimately, you have your master project link and then you organize it to your liking. For example, you could have a column called “Research”, another “Phase one”, “Phase two,” and so on and so forth.
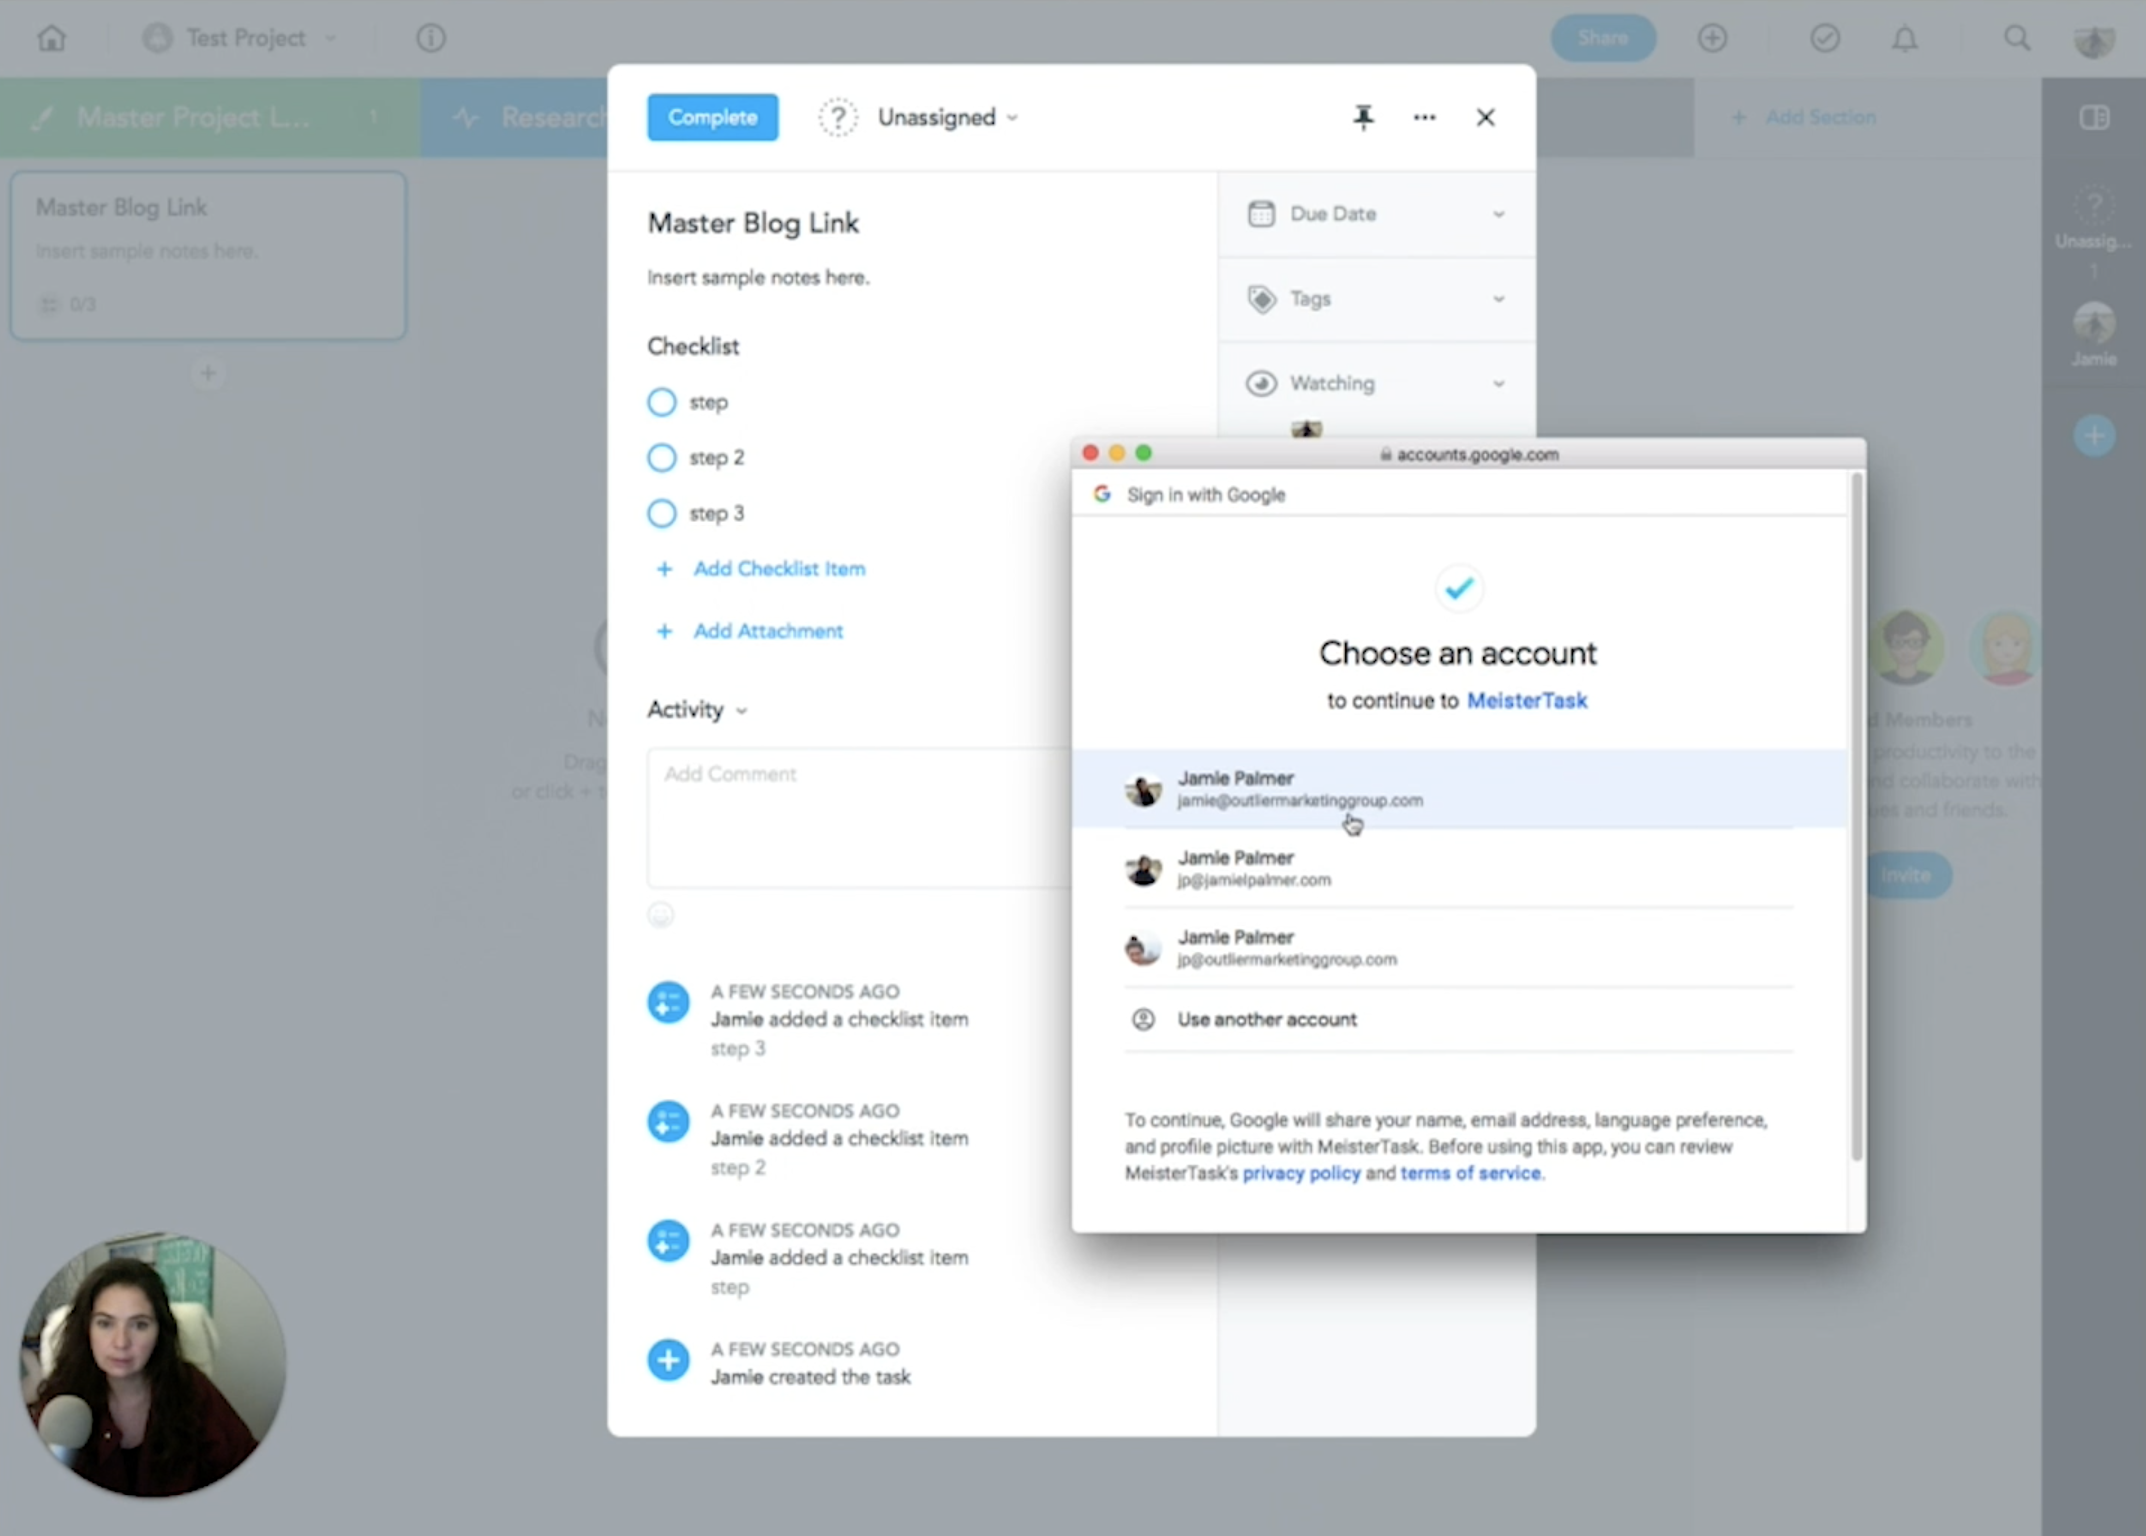
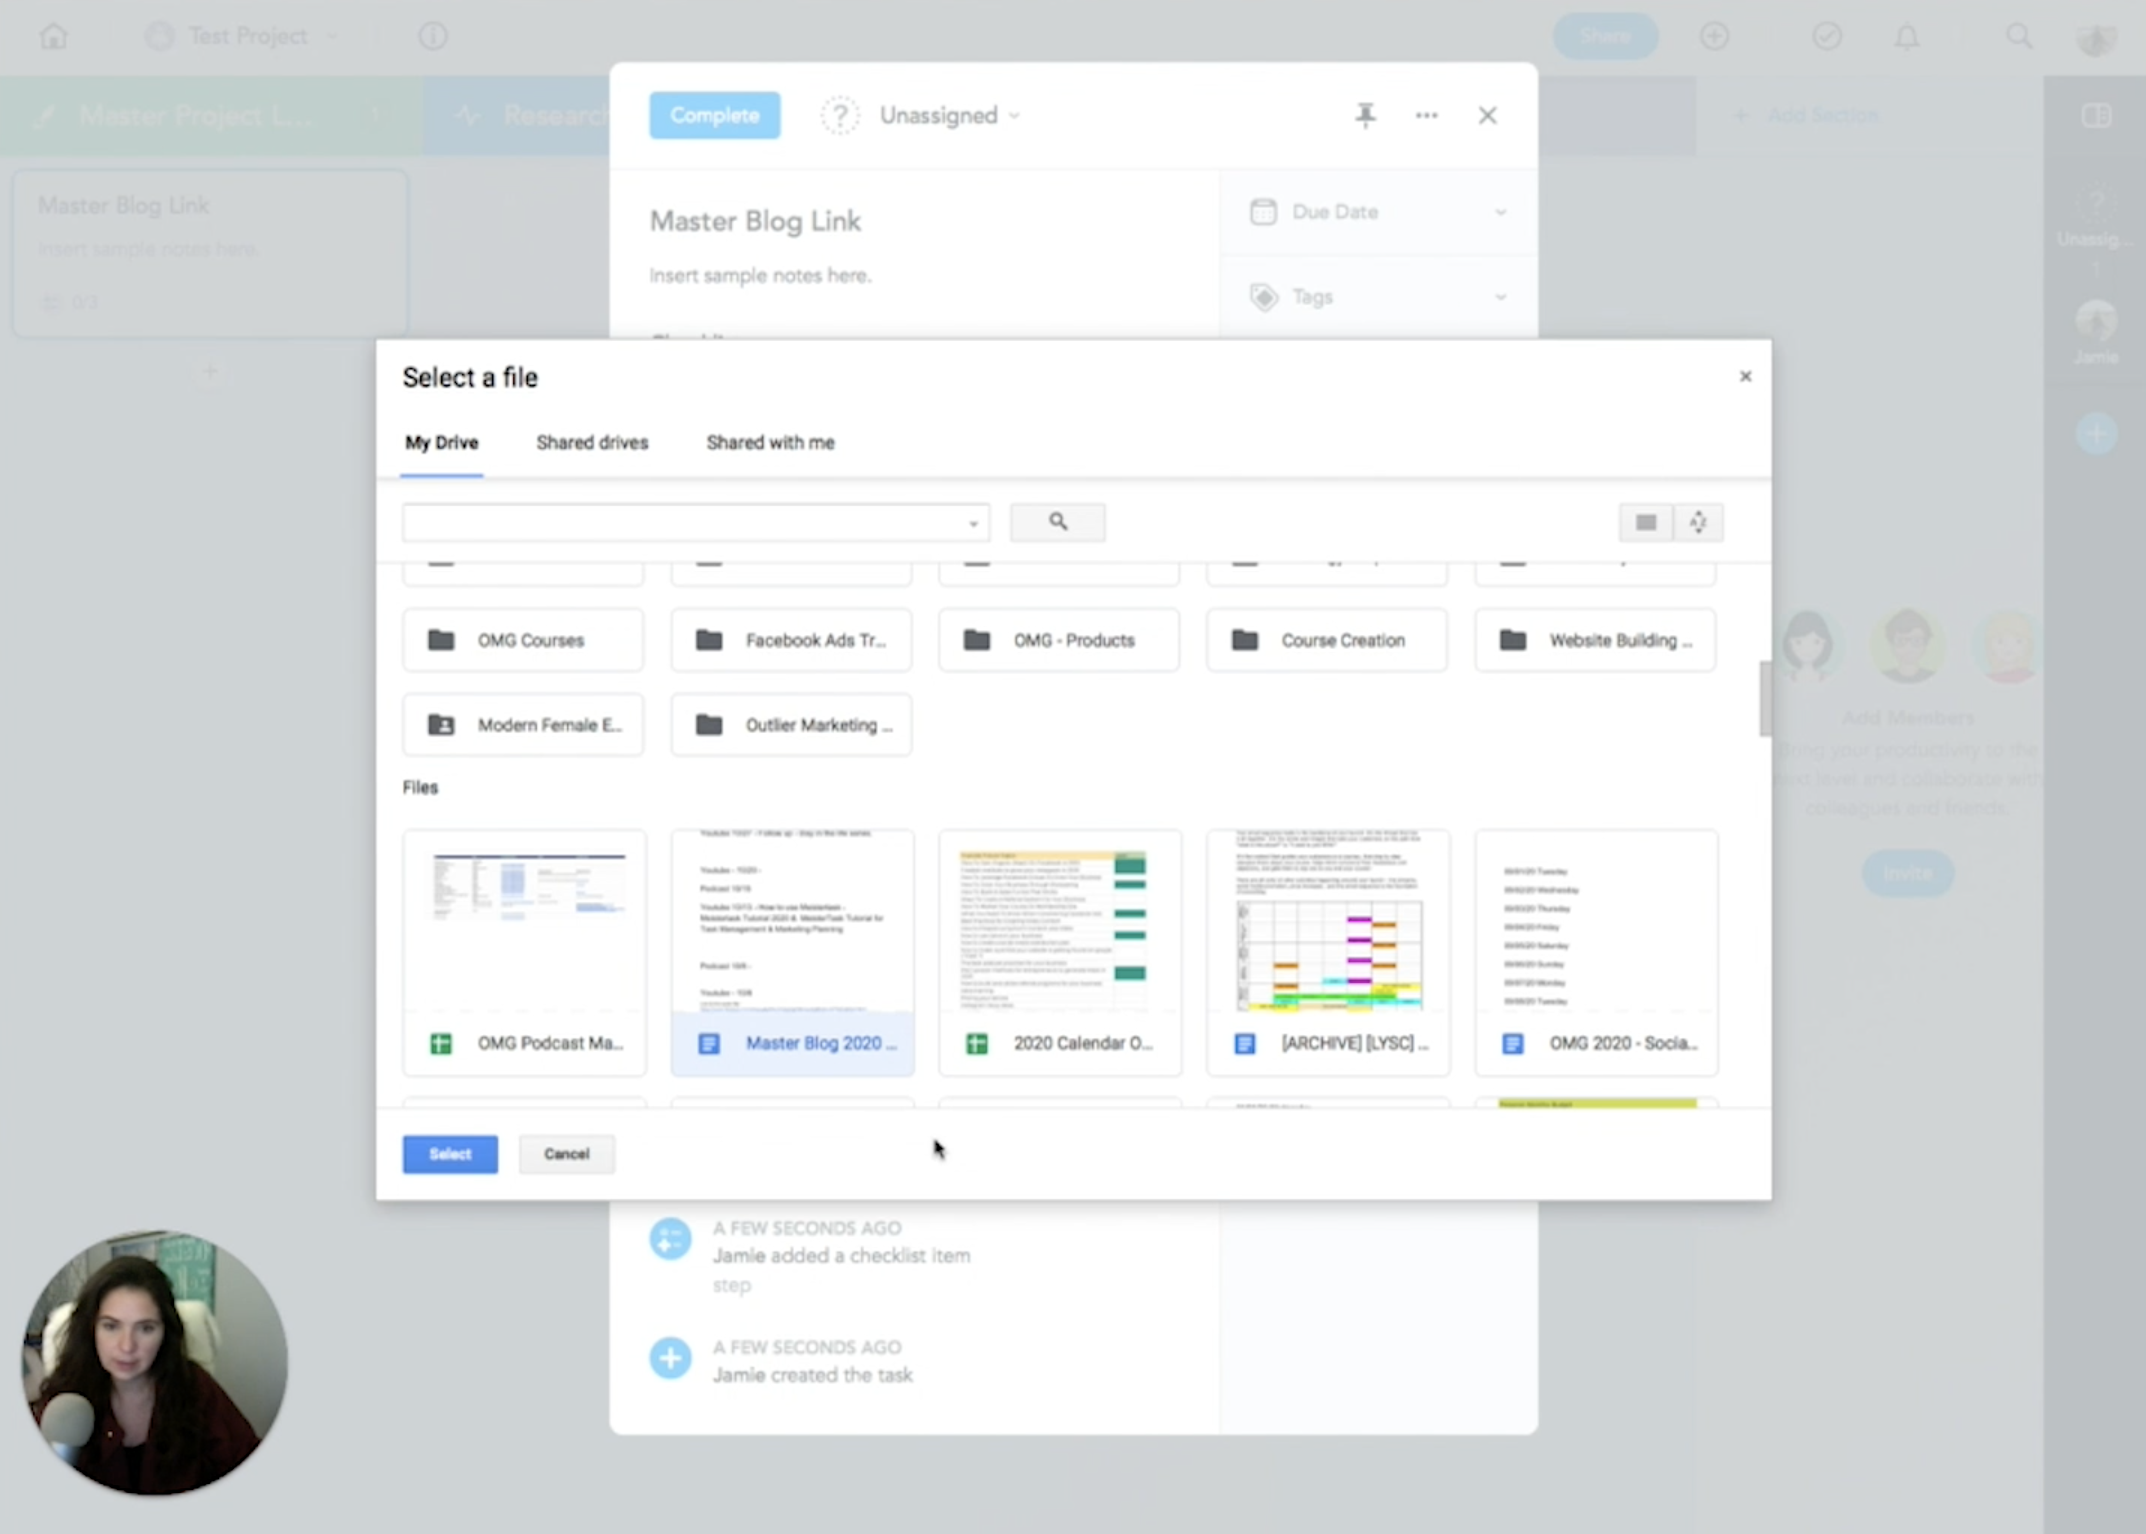
8) You can also add a spreadsheet within your different tasks. All you need to do is link your Google Drive, Dropbox etc.., and select your attachments.
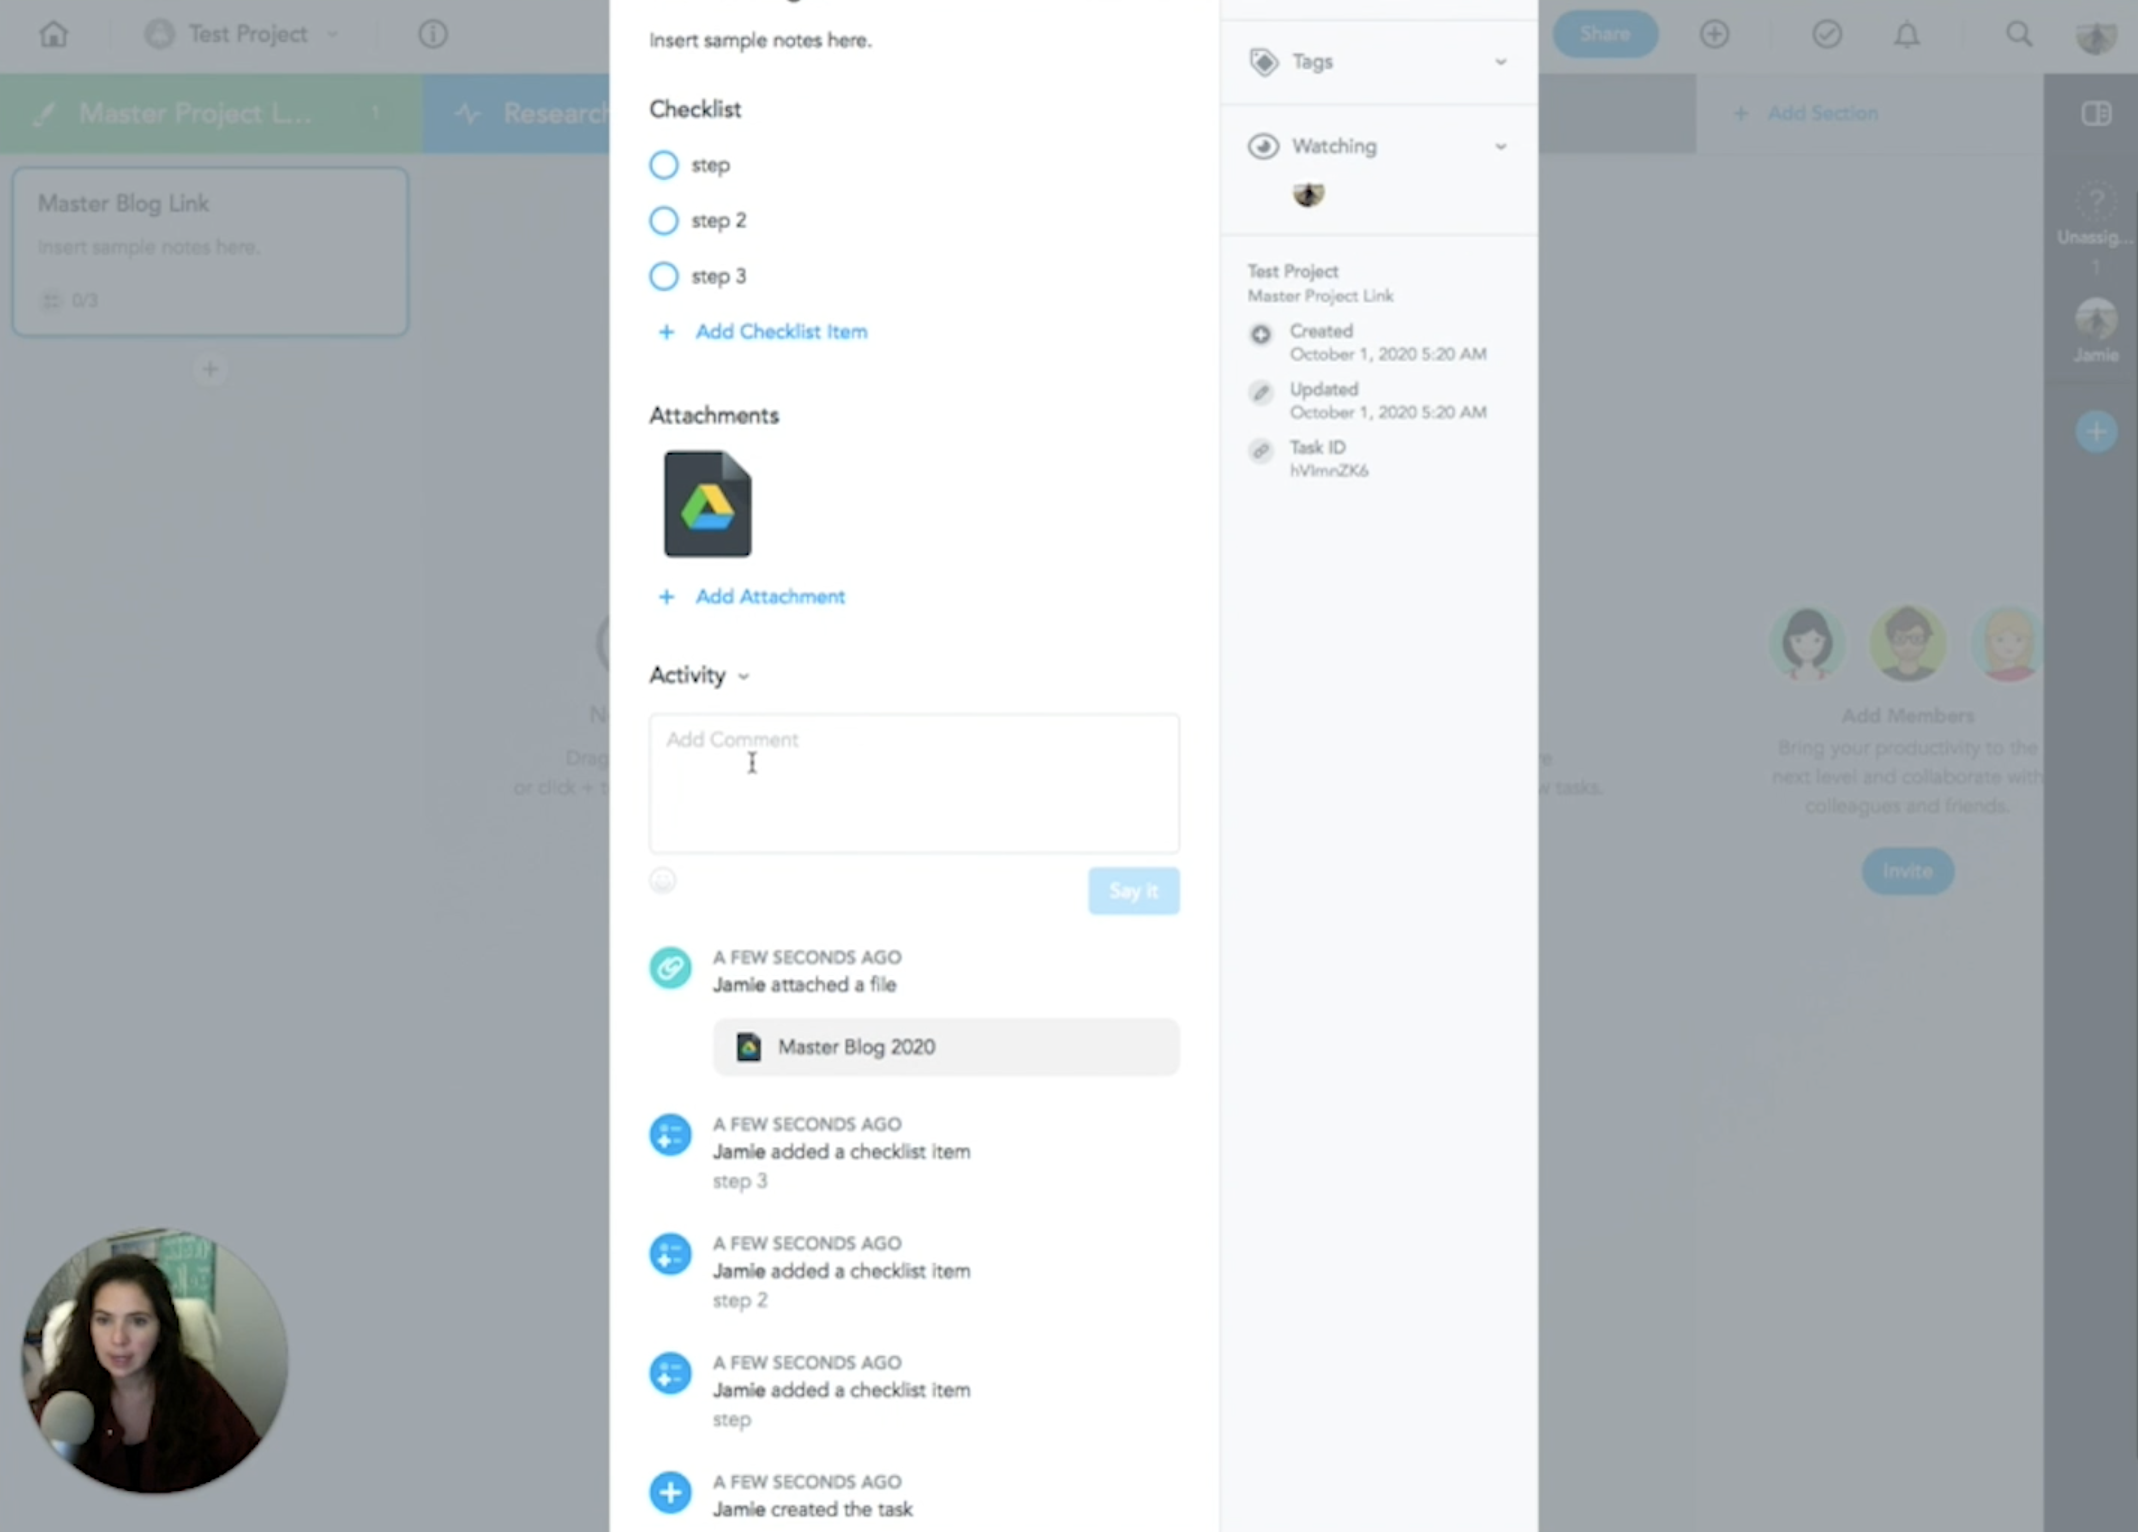
9) Now, you can easily access your attachment without having to leave Meistertask and under activity, you could also comment and talk to people in your team. Within this pop up field, you can add due dates, and you can make them contingent.
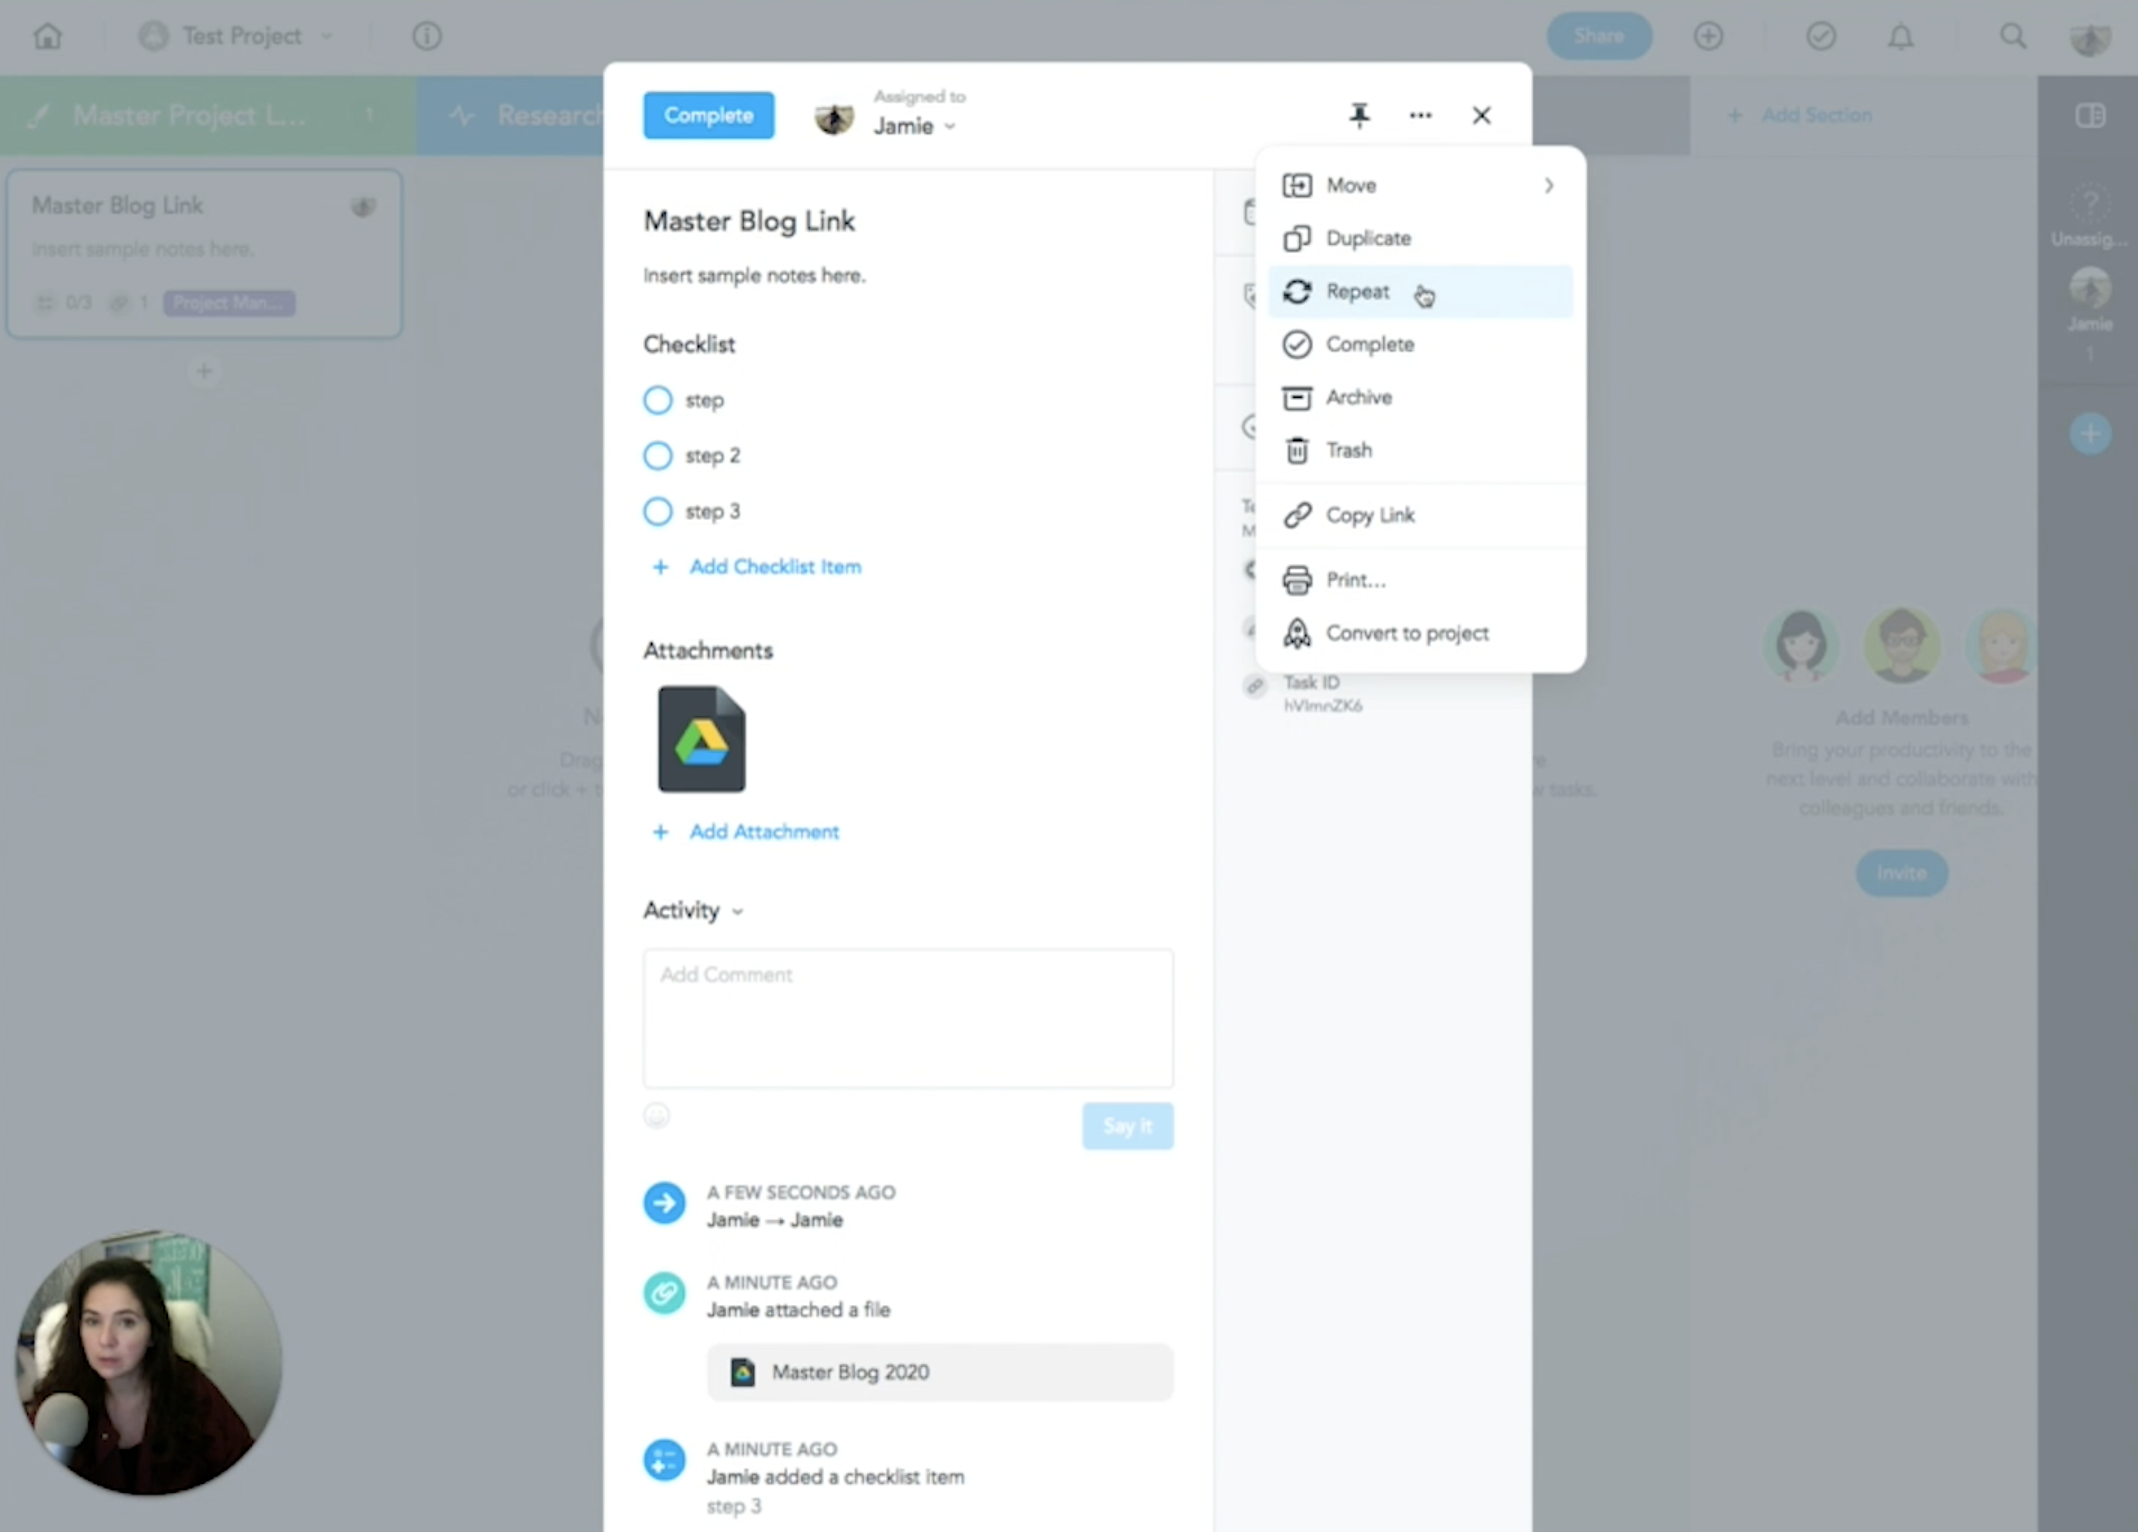
10) Set tasks up in such a way that one has to be finished before other tasks can be complete. Select it as reply, as something that is upcoming or that you are waiting for something. You also have the option again of tagging. You can assign people to the project. You can make a task repeat. And when the task is finished you can mark it as complete. These are pretty much the basics.
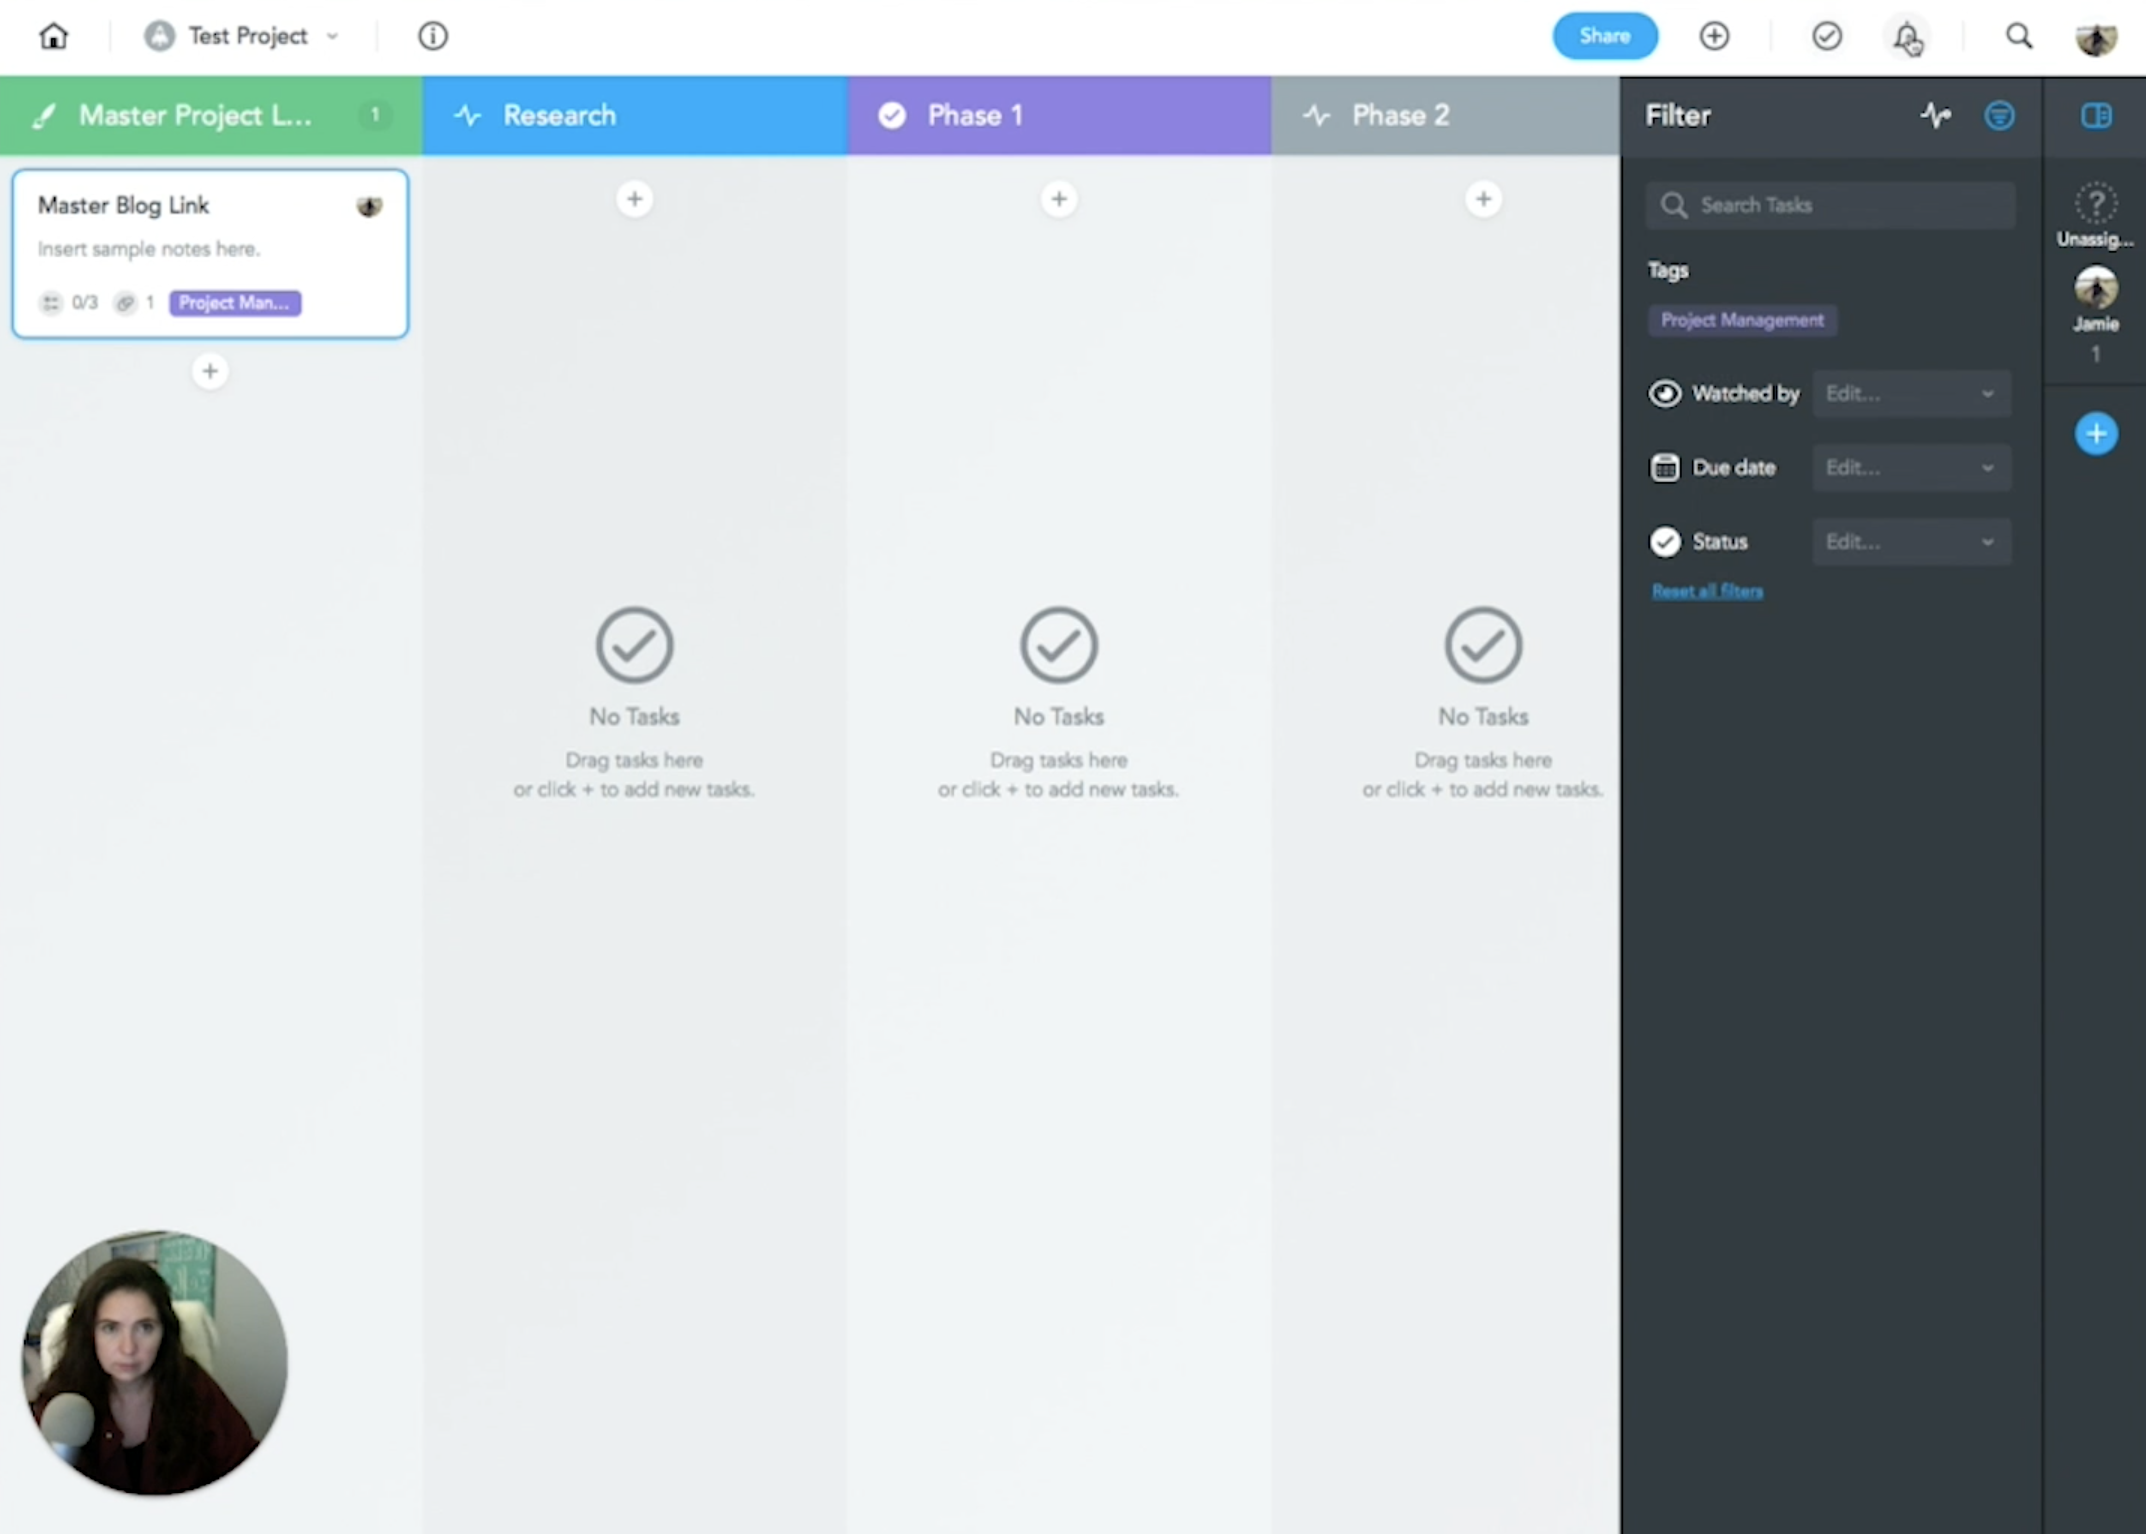
11 ) Meistertask is a pretty robust system. The way I like using this and how I’m recommending my clients use it, is to think about the different ways in which you might have tasks recurring.
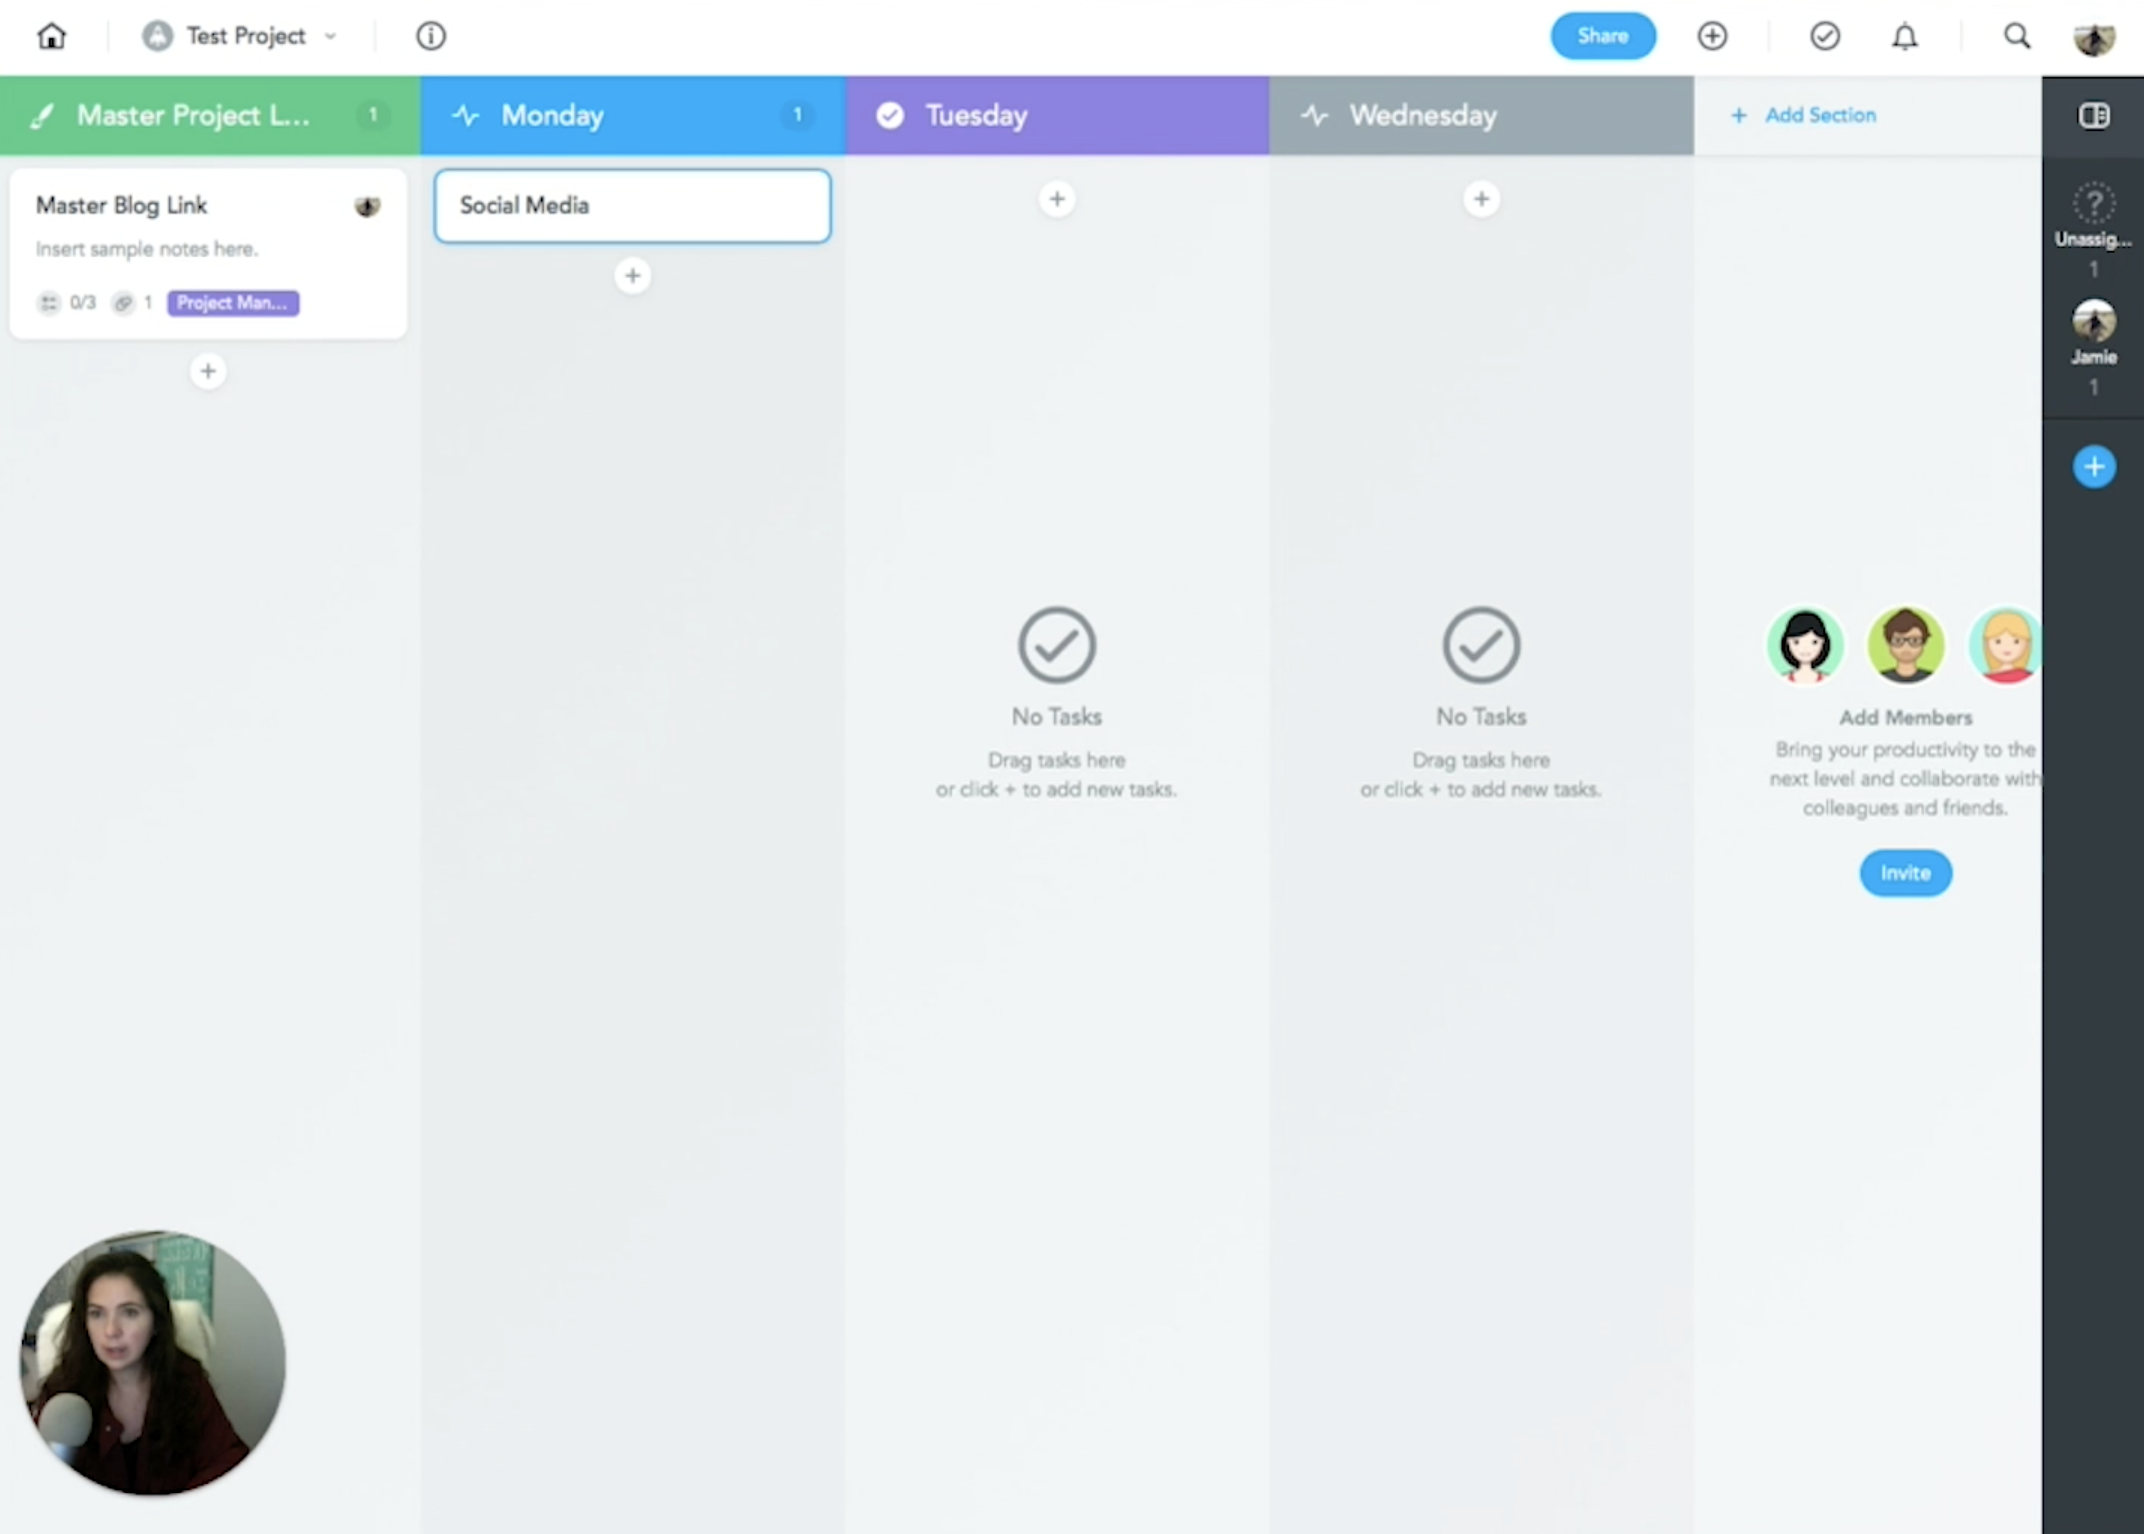
12) For example, you could take a master project link and rather than having it be for a project, you could essentially make it for ongoing tasks. So, every day of the week would have specific tasks. Ultimately you would also tag the tasks with “High priority”, “Medium priority”, etc.
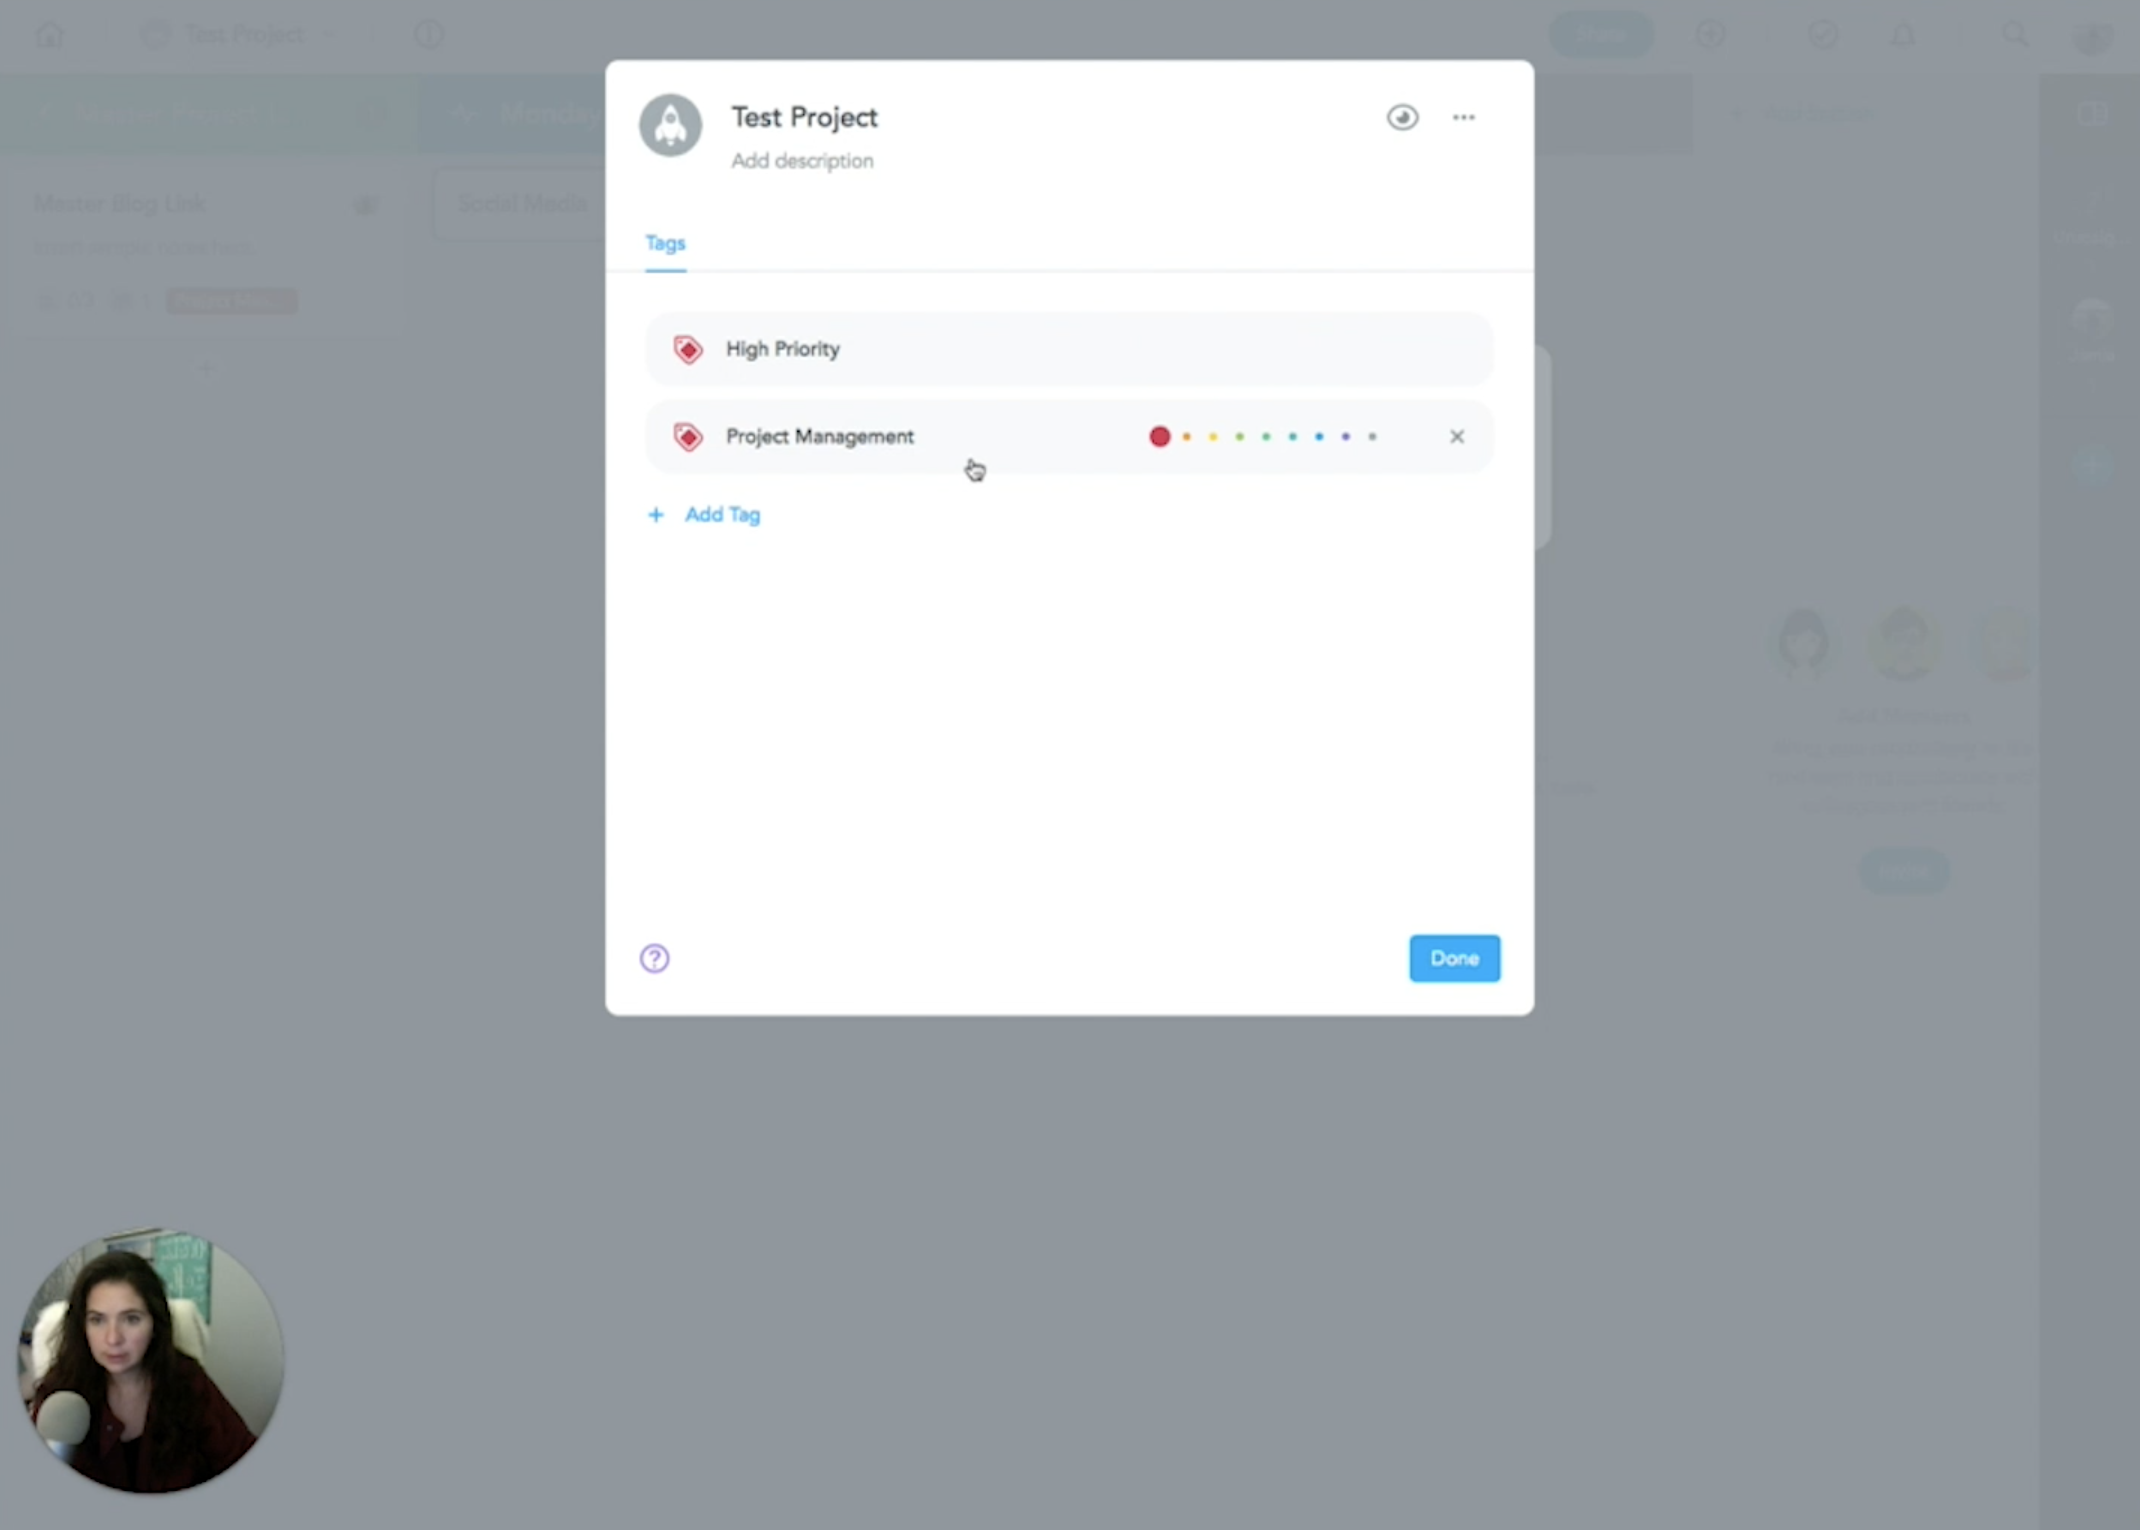
13) By labeling all your tasks throughout the day you can then use the same approach as in my time blocking technique. Organize your tasks by their priority (high priority, medium, less urgent), and I would recommend you designate, maybe Friday, the day of the week where anything that didn’t get done throughout the week, you slide over to that column. So then on Friday, you finish up whatever you need to do for the week. This is a great way in which to organize your weeks, because you are not going to go into your email or into Facebook and get distracted.
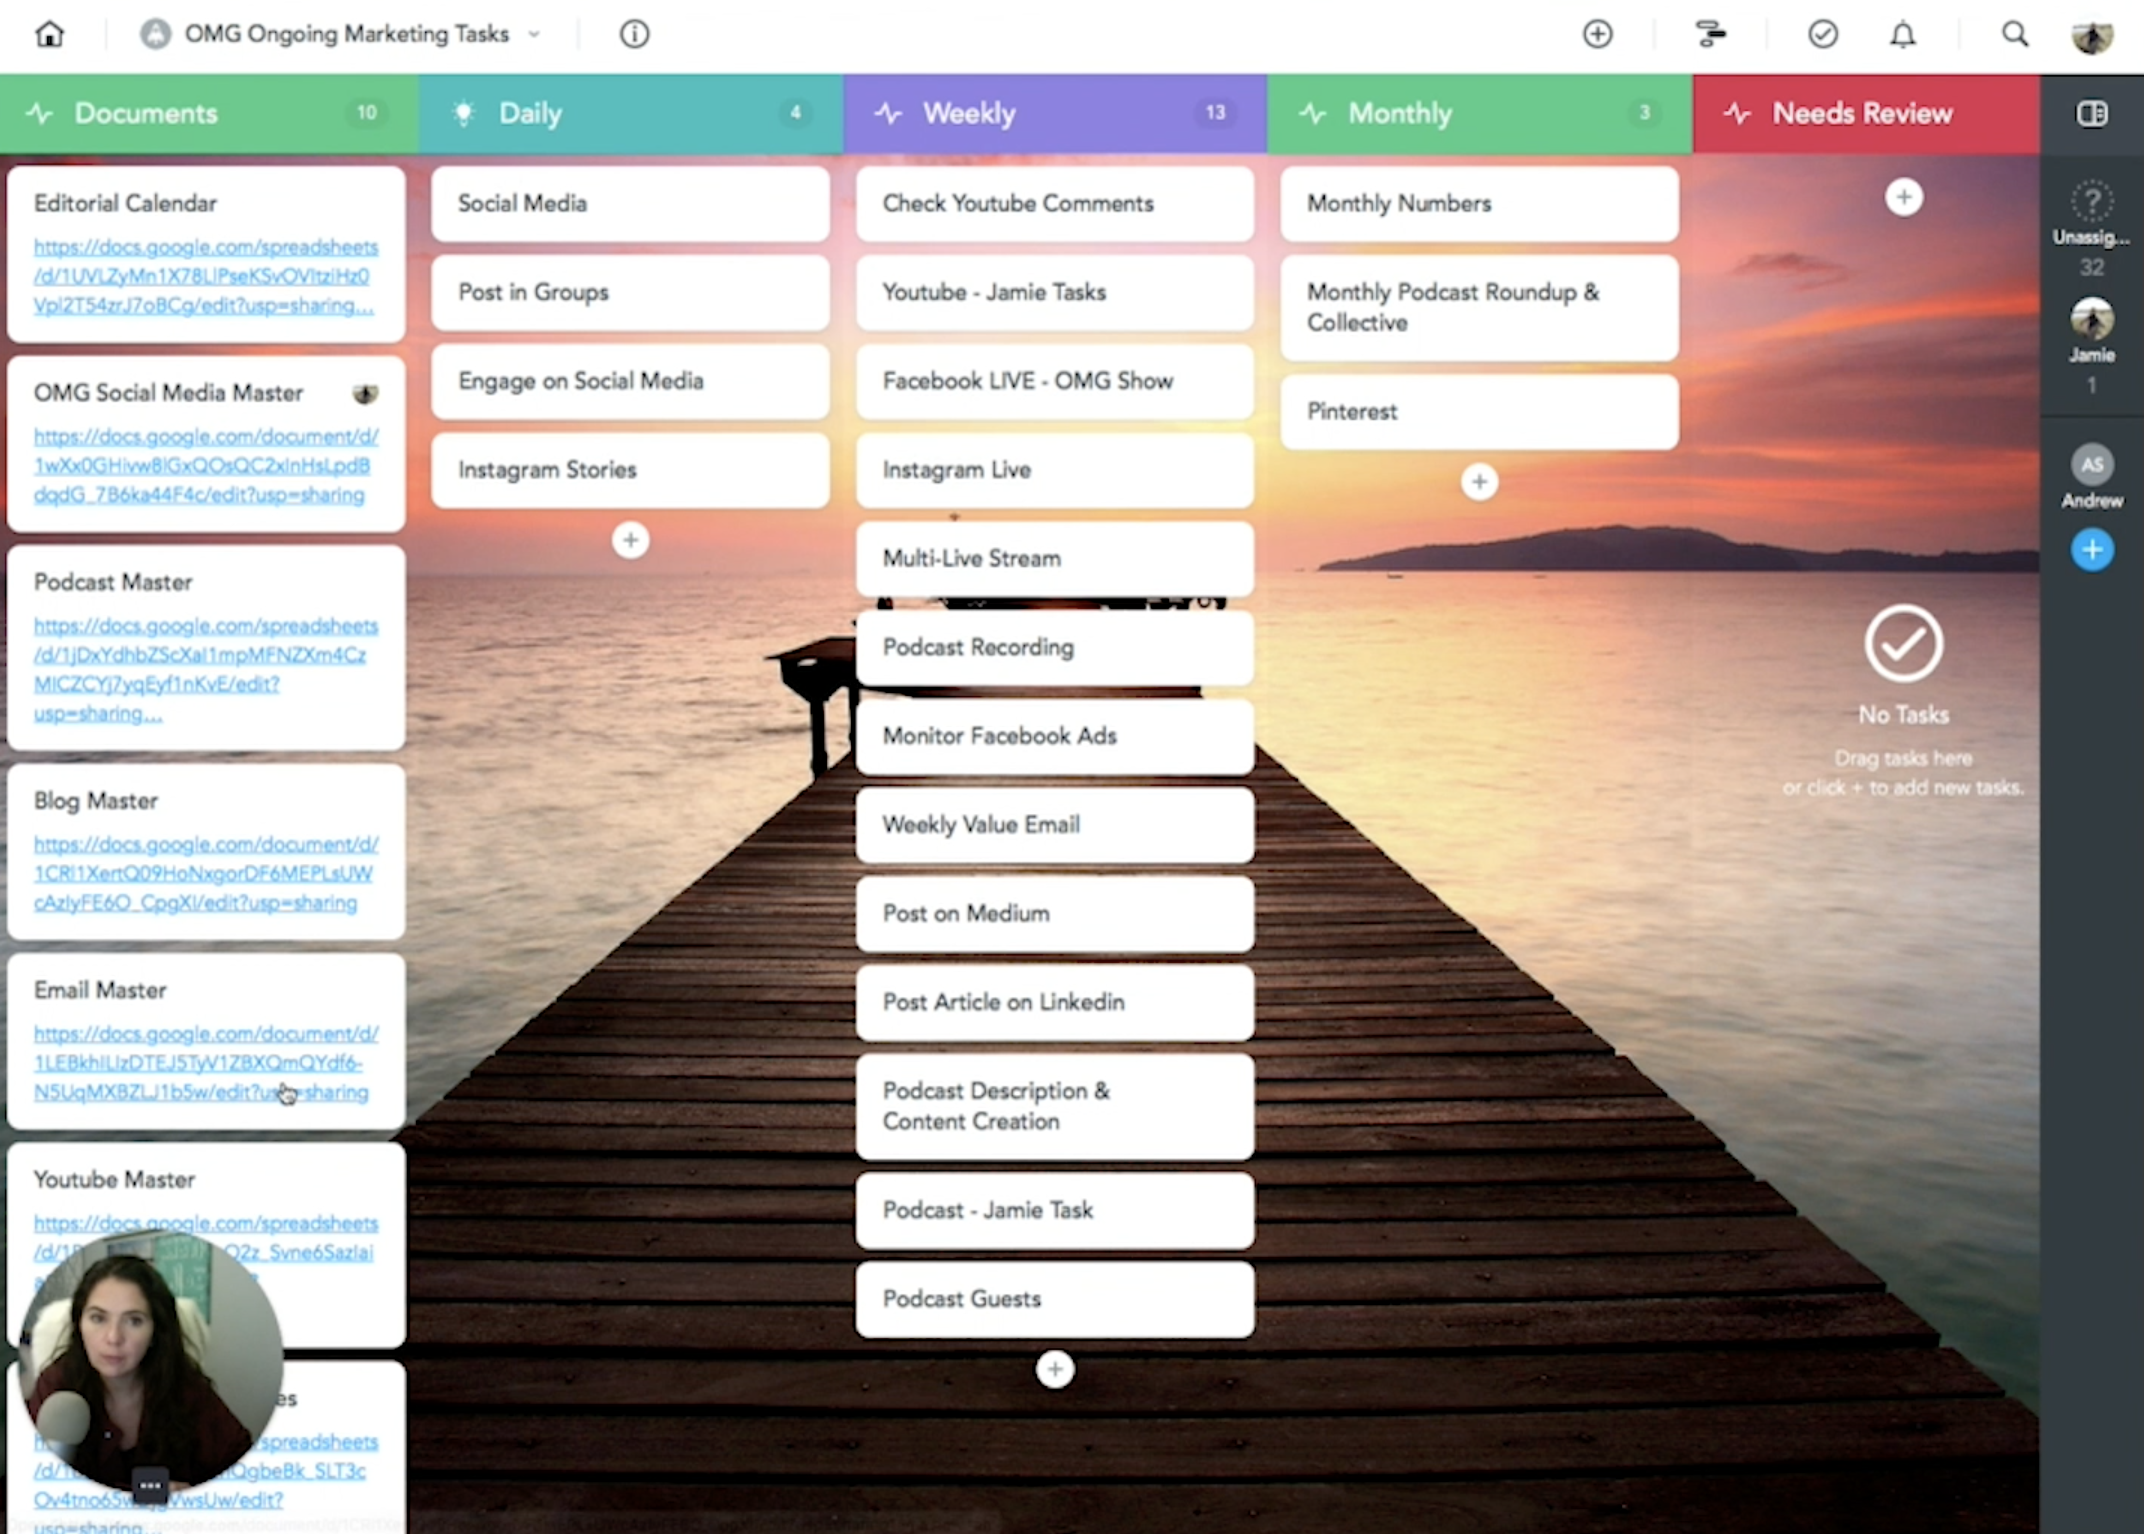
14) Here’s how I manage my ongoing marketing tasks for example. As you can see, I have my master documents all grouped together with all the appropriate links. Then I have columns for daily, weekly and monthly tasks. It gives me a very good list of things that I need to do each and every week.
15) Tasks that repeat weekly, I have added in automations and tagged team members.
16) When I’m in Meistertask, I don’t get distracted by anything. I know I can come in here and see what I need to do each and every day to make sure that I am staying on task with all of the different things that I need to do. This is a great way to organize your stuff!
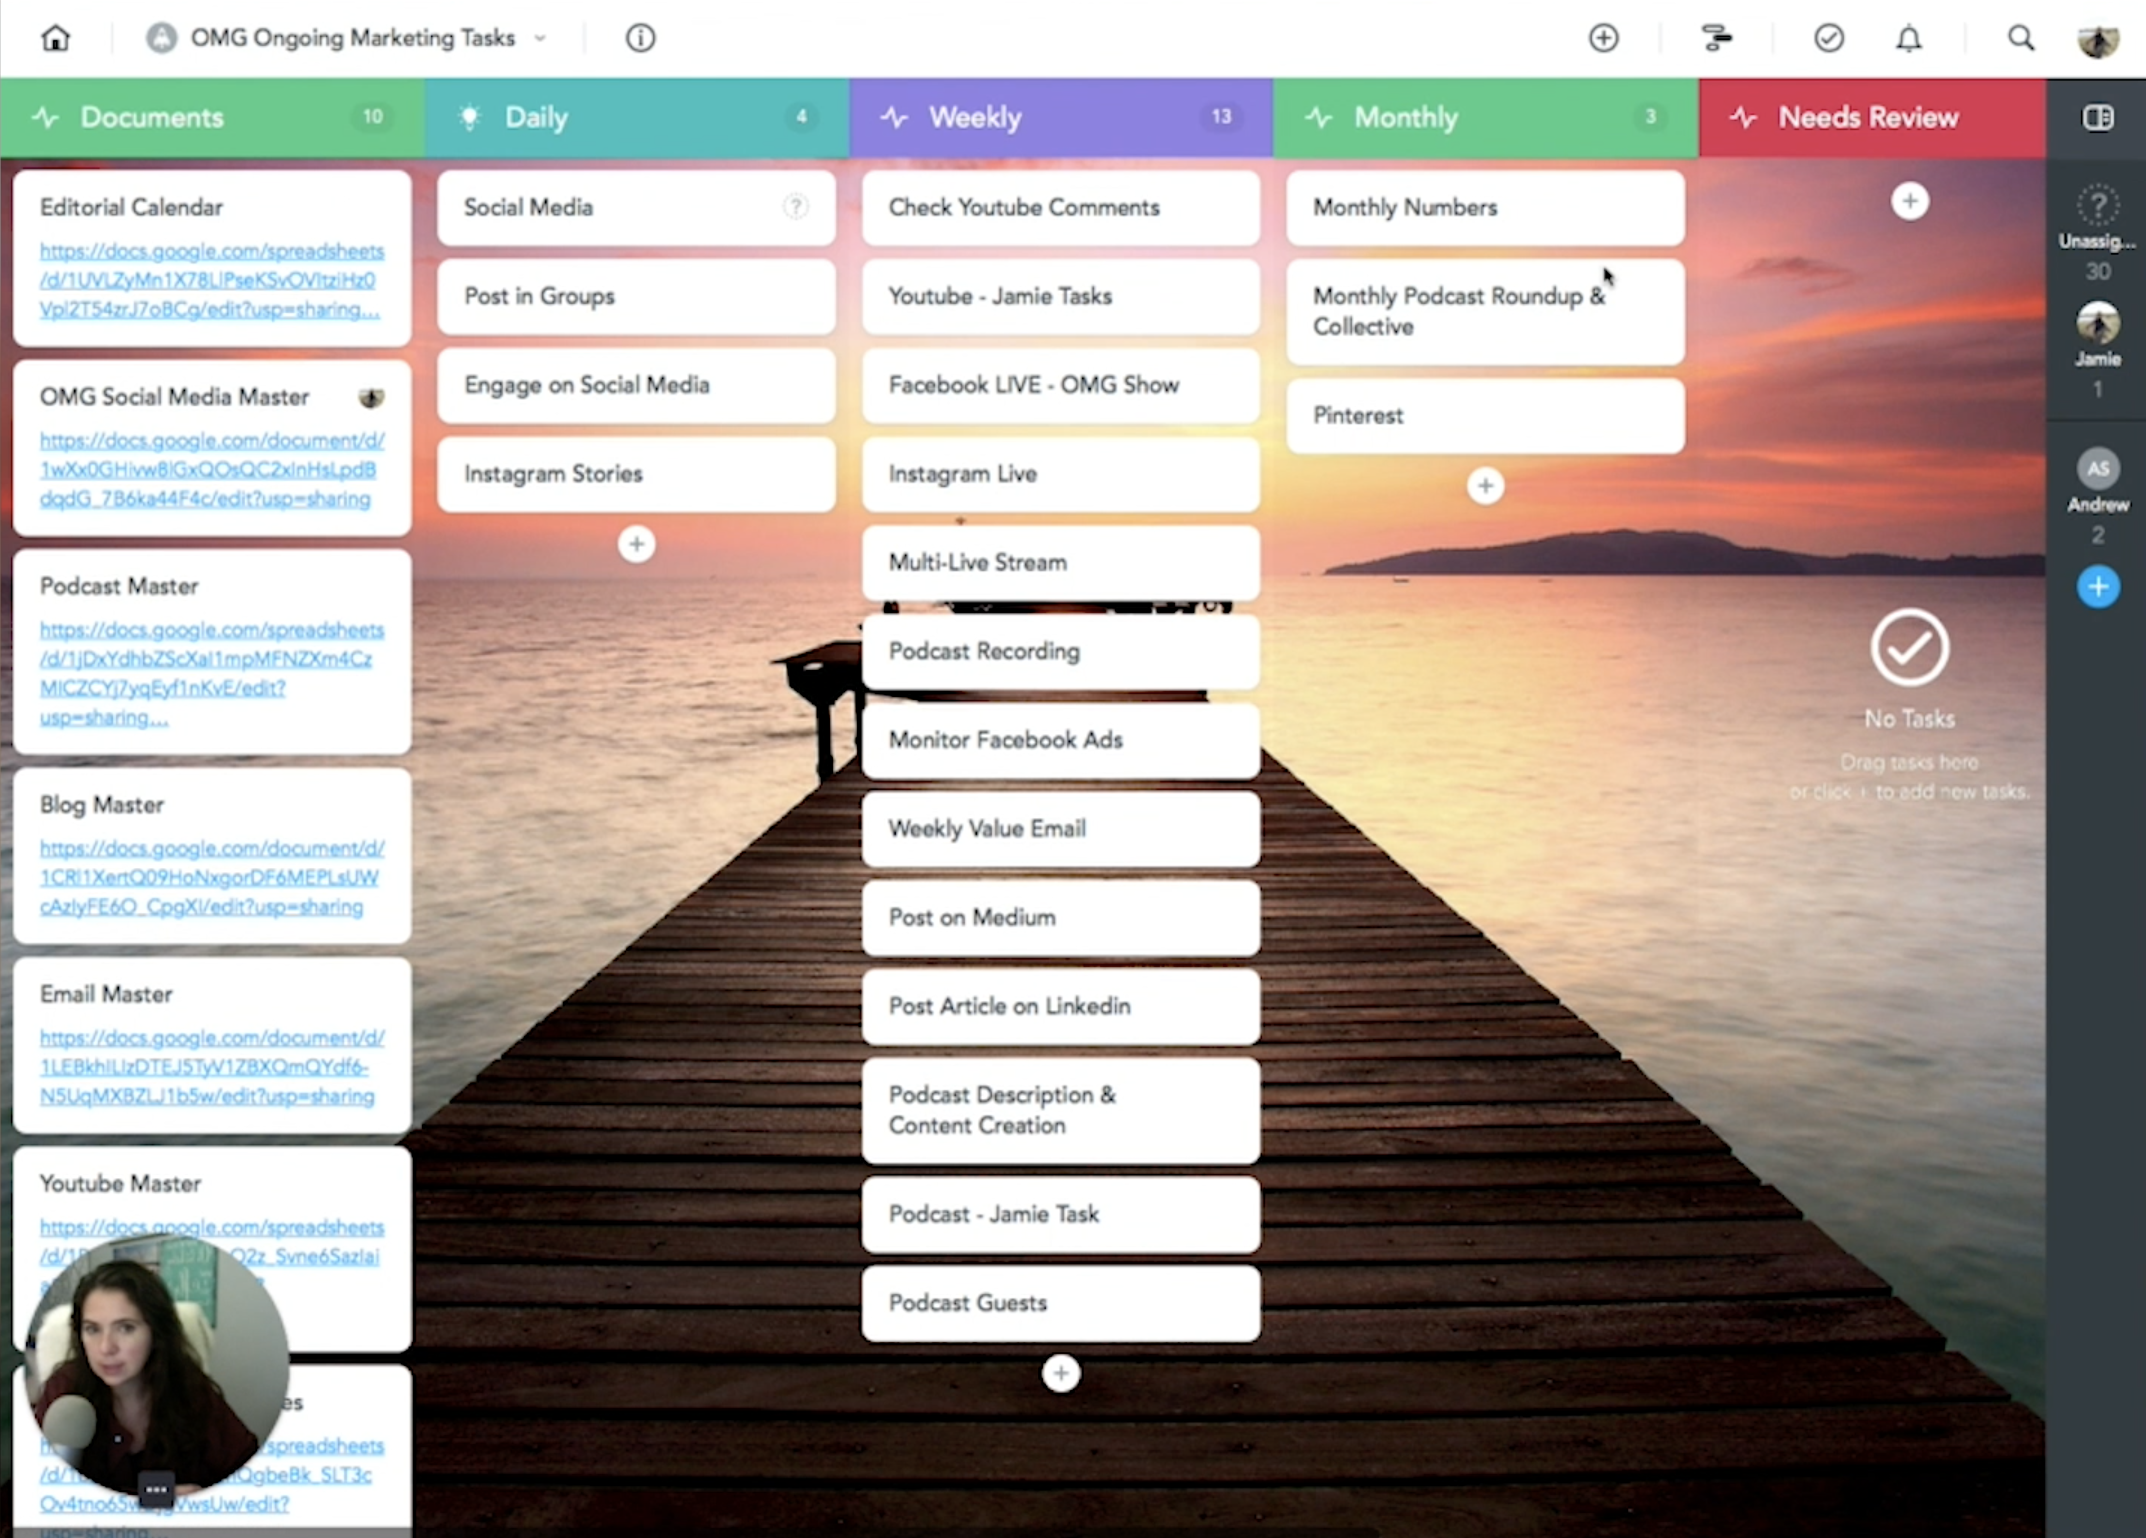
A client of mine wants to do the same thing every Monday, Tuesday, etc… So when you can get everything in one spot, it becomes really easy to ensure that you’re staying on task every week, no matter what.
I hope this was helpful to you, as this is one of my favorite ways to organize my tasks!
__________________________
Are you wondering if your social media marketing is even working? Are you posting and hearing crickets? For a limited time I am offering customized Social Media and Marketing Snapshots for $47. These are a 2 – 3 page action plan designed specifically for your business. Grab yours today ===>>> www.socialmediasnapshot.com


